


For kitchen professionals, the art of crafting the perfect dessert is a satisfying pursuit. Among the myriad of sweet treats, brownie bites in a cast iron pan stand out as a culinary delight. The combination of a rich, chocolatey interior with a perfectly crisp exterior makes them an irresistible addition to any dessert lineup. In this article, we'll delve into the nuances of baking these delectable bites and why using a cast iron pan can elevate your brownie game.

Why Choose a Cast Iron Pan for Brownie Bites?
Cast iron pans have long been cherished in professional kitchens for their ability to distribute heat evenly. This characteristic is particularly important when baking brownie bites, where achieving the perfect balance between a chewy center and a crispy edge is key. The heat retention of cast iron ensures consistent baking, reducing the risk of burnt edges or undercooked centers.
Moreover, the versatility of cast iron pans allows chefs to transition seamlessly from stovetop to oven, providing flexibility in the cooking process. Whether you're searing toppings or finishing with a broil for a crunchy crust, a cast iron pan is your go-to tool.
Preparing Your Cast Iron Pan
Before diving into the baking process, ensuring your cast iron pan is properly seasoned is crucial. A well-seasoned pan not only prevents sticking but also enhances the flavor profile of the brownie bites. To season your pan, lightly coat it with vegetable oil and bake it in the oven at 350F for an hour. This process creates a non-stick surface that is perfect for baking.
For more tips on maintaining your cast iron cookware, you can explore this guide on cast iron maintenance.
Crafting the Perfect Brownie Batter
The foundation of any great brownie bite is the batter. Using high-quality ingredients is paramount. Opt for dark chocolate with a cocoa content of at least 70% to impart a rich, intense flavor. Additionally, incorporating a mix of brown and granulated sugar adds depth and chewiness to the bites.
In a professional kitchen, consistency is key. Therefore, measuring ingredients accurately using a digital scale is recommended. This precision ensures that each batch of brownie bites maintains the same high standard of quality.
Enhancing Flavor with Add-ins
While traditional brownie bites are delightful on their own, experimenting with add-ins can take them to new heights. Consider incorporating chopped nuts, such as walnuts or pecans, for added texture. Alternatively, a swirl of peanut butter or a sprinkle of sea salt can introduce intriguing flavor contrasts.
For a more adventurous twist, try infusing your batter with a hint of espresso or a dash of cinnamon for a unique taste profile. These subtle additions can transform your brownie bites into a signature dessert.
The Baking Process
Once your batter is ready and your cast iron pan is prepared, it's time to bake. Preheat your oven to 350F and fill each section of the pan with batter, ensuring even distribution. Bake for approximately 20-25 minutes, or until a toothpick inserted into the center comes out with a few moist crumbs.
The cast iron's heat conductivity will create a delightful crust while keeping the interior moist and fudgy. Allow the brownie bites to cool in the pan for a few minutes before transferring them to a wire rack.
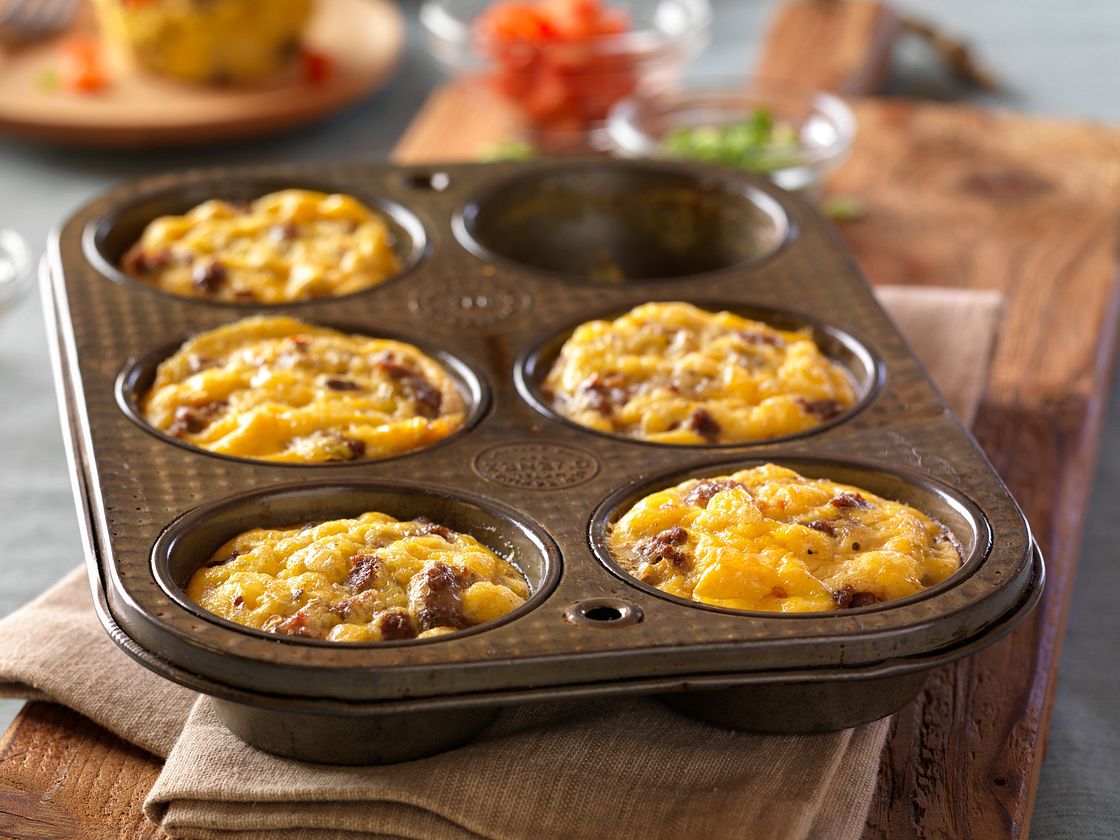
For more inspiration on using muffin pans for baking, check out this list of creative muffin pan recipes.
Frequently Asked Questions
Can I use a regular muffin pan instead of a cast iron pan?
While a regular muffin pan can be used, a cast iron pan offers superior heat distribution and retention, resulting in a better texture and flavor for your brownie bites.
How do I prevent my brownie bites from sticking to the pan?
Ensuring your cast iron pan is well-seasoned and lightly greased will help prevent sticking. Additionally, allowing the bites to cool slightly before removing them can also aid in easy release.
What is the best way to store leftover brownie bites?
Store any leftover brownie bites in an airtight container at room temperature for up to three days. For longer storage, consider freezing them for up to a month.
For more baking tips and tricks, explore our comprehensive guide on using cast iron pans.
This article contains affiliate links. We may earn a commission at no extra cost to you.

Leave a comment
This site is protected by hCaptcha and the hCaptcha Privacy Policy and Terms of Service apply.