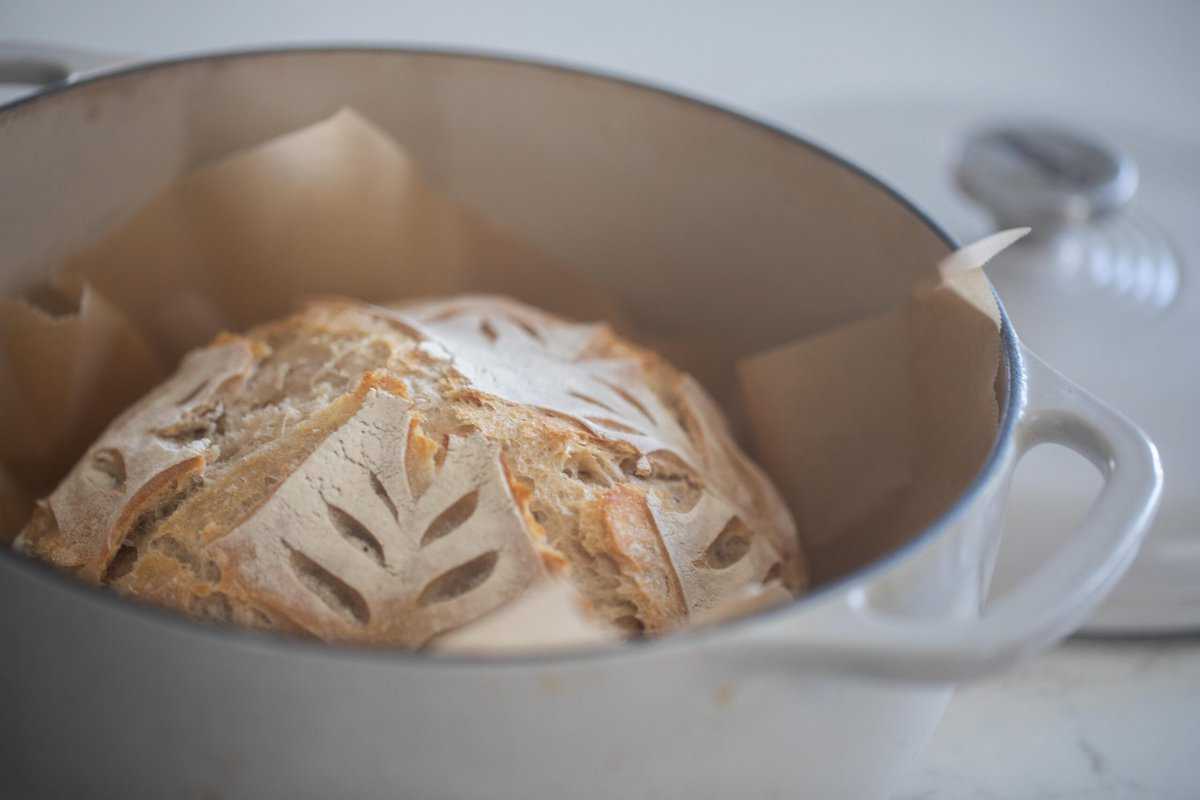
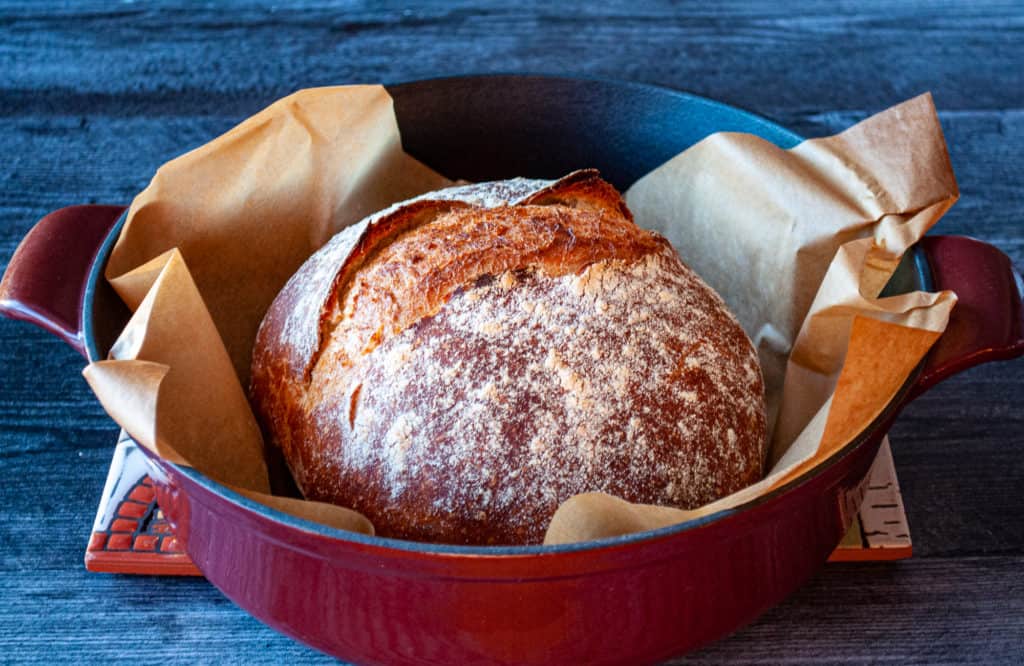
Baking sourdough bread is an art that combines skill, patience, and a little bit of science. For kitchen professionals, mastering how to bake sourdough bread in a dutch oven can elevate your bread-making game significantly. The dutch ovens ability to contain heat and moisture creates an ideal environment for a perfect crust while maintaining a soft, chewy interior. This guide is designed for those serious about baking delicious bread that speaks to the heart and soul of traditional culinary methods.
Whether you are a seasoned chef looking to refine your skills or a culinary student eager to learn the ropes, understanding the nuances of baking sourdough in a dutch oven will benefit your repertoire immensely. By the end of this article, you will have a thorough understanding of the entire process, from preparing your starter to the final bake.

Understanding the Basics of Sourdough
Sourdough bread distinguishes itself through its unique flavor profile and texture, owing to the use of wild yeast and lactic acid bacteria. When making your own sourdough, start with a healthy, active starter. This key ingredient will give your bread its characteristic tang. Here, we delve into all the essentials:
The Importance of the Starter
Your sourdough starter is the foundation of great bread. A strong starter is bubbly, has a pleasant aroma, and passes the float test, which indicates its ready to use. To maintain an active starter, feed it regularly and store it in the right conditions. Regular feeding will ensure active fermentation, leading to better flavors and a successful rise.
Essential Ingredients
Besides your starter, the primary ingredients you need include:
- Flour: Choose a high-protein flour for developing gluten, providing structure to your bread.
- Water: Use filtered water to avoid chlorine, which can inhibit fermentation.
- Salt: Salt plays a crucial role in flavor enhancement and controlling yeast activity.
Equipment You Will Need
In addition to your dutch oven, you will require:
- A Mixing Bowl: For combining your ingredients.
- A Bench Scraper: Helpful for shaping your dough.
- Proofing Basket: This allows your dough to rise while maintaining its shape.
Step-by-Step Guide to Baking Sourdough Bread in a Dutch Oven
Now that we've covered the basics, lets jump into the process of baking sourdough bread in a dutch oven:
1. Preparing the Dough
Start by mixing your refreshed starter with water. Gradually incorporate the flour and salt, creating a shaggy dough. Let this mixture rest (autolyse) for about 30 minutes to 1 hour. This rest allows the flour to fully hydrate and makes the kneading process easier.
2. Kneading and Bulk Fermentation
Knead the dough until smooth. Transfer it to a lightly oiled bowl, cover it, and let it ferment for 4 to 6 hours, depending on the temperature. The dough should roughly double in size.
3. Shaping Your Dough
Once the bulk fermentation is complete, transfer the dough onto a lightly floured surface. Gently deflate and shape it into a round loaf. Use a bench scraper to assist with the shaping process. This ensures the surface of the dough is taut which is key for good oven spring.
4. Final Proofing
Place your shaped dough into a proofing basket, seam side up, and cover it with a cloth. Let it proof for another 1 to 2 hours, or alternatively, you can place it in the fridge for an overnight cold proof.
5. Preheating Your Dutch Oven
While your dough proofs, preheat your dutch oven at 450F. This high heat helps to achieve that lovely crust.
6. Scoring and Baking
Once preheated, carefully transfer your dough into the pot. Lightly dust the top with flour and use a razor blade or lame to score the dough. This scoring allows steam to escape and provides beautiful aesthetics. Cover the pot and bake for the first 30 minutes. Remove the lid and continue baking for an additional 15-20 minutes until golden brown.
7. Cooling
When baked to perfection, remove the bread from the dutch oven and let it cool on a wire rack. This cooldown is essential for allowing the crumb structure to set. Patience pays off!
Tips for Perfecting Your Sourdough
As a professional in the culinary field, understanding the finer details can further improve your sourdough baking:
- Maintain proper hydration levels for your loaves to affect texture and crumb.
- Experiment with different flours to create unique flavors.
- Consider using a Dutch Oven for frying up leftover bread bits for a delicious starter.
Common Mistakes to Avoid
Being aware of common pitfalls is crucial:
- Inaccurate Measurements: Always measure ingredients by weight for best results.
- Over- or Under-fermentation: Keep an eye on your dough during the fermentation process.
- Skipping Cooling Time: Allow your bread to cool completely before slicing.
Frequently Asked Questions
What if my sourdough doesnt rise?
Many factors can lead to insufficient rising, including a weak starter or improper fermentation. Always check the activity of your starter.
How do I know when my bread is done baking?
A good indicator of doneness is when the crust has turned a deep brown, and the internal temperature reaches 200-210F.
Can I bake sourdough without a dutch oven?
Yes, alternatives like baking stones or cast iron skillets can work but may require adjustments in temperature and baking time. Check this link for tips: Baking without Dutch Oven.

Conclusion
Mastering how to bake sourdough bread in a dutch oven is a rewarding skill for any kitchen professional. With the right knowledge, tools, and techniques, you can produce beautiful, flavorful loaves that impress and delight. Remember to practice and refine your methods, keeping an open mind to experimentation and improvement.
For more insights into dutch oven cooking, check out this resource: Dutch Oven Tips.
This article contains affiliate links. We may earn a commission at no extra cost to you.


Leave a comment
This site is protected by hCaptcha and the hCaptcha Privacy Policy and Terms of Service apply.