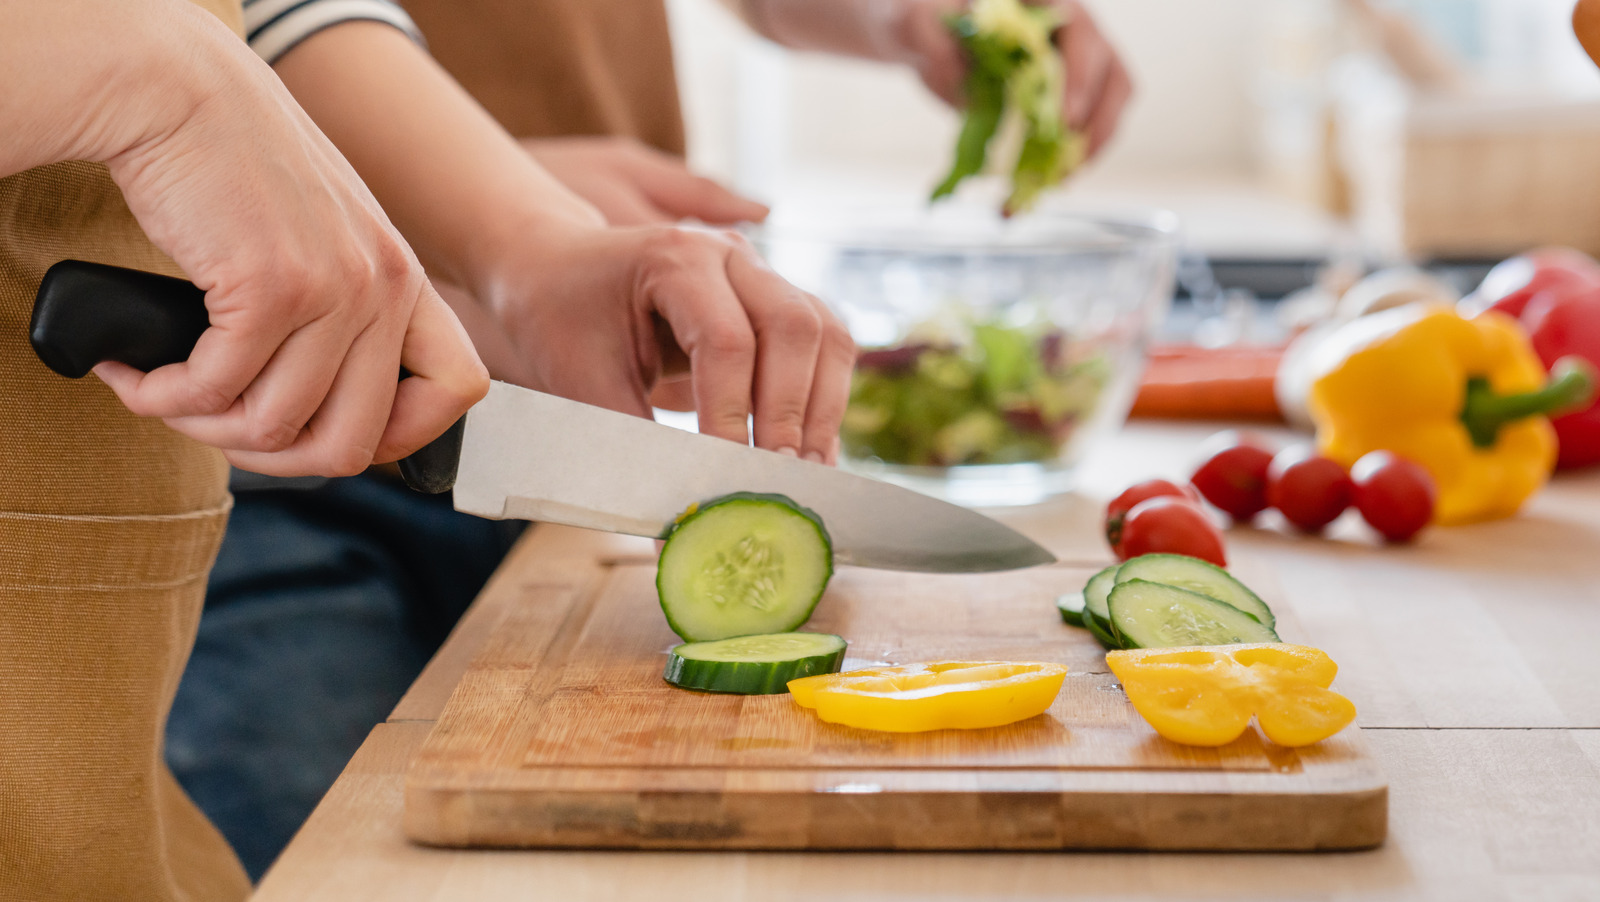
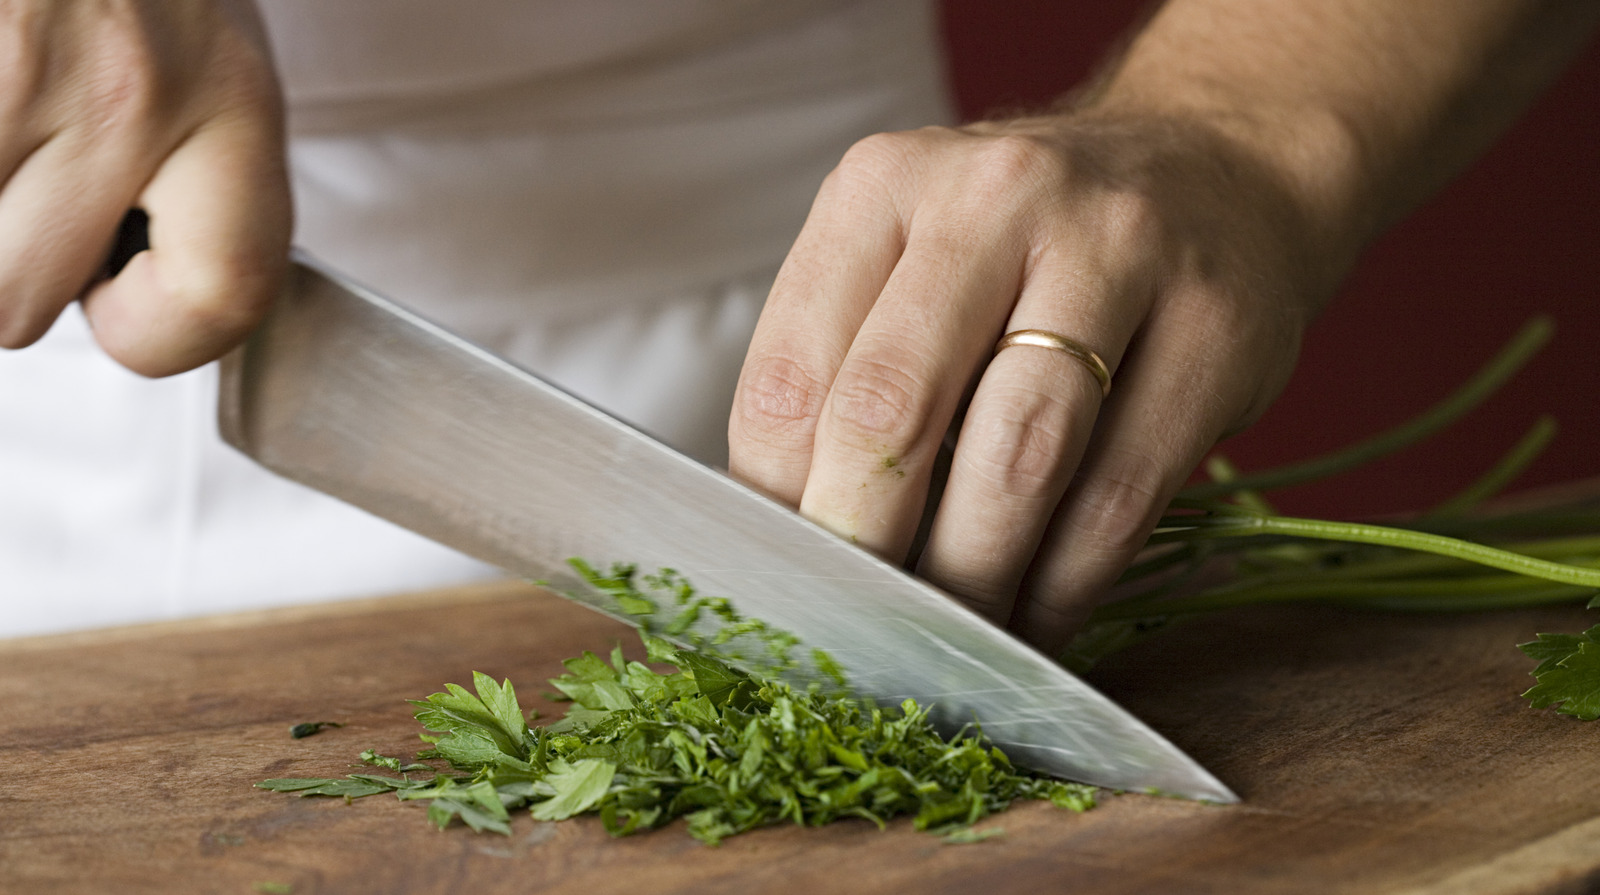
Cutting boards are a staple in every kitchen, serving as both a platform for chopping and a key player in efficient culinary operations. If youve ever dealt with a cutting board that lacks a juice groove, youre likely familiar with the chaos that ensues when juices run off the edge, creating a mess and disrupting your workflow. Mastering the technique of how to create a juice groove in a cutting board will elevate an ordinary board into an indispensable, spill-free kitchen companion.
In this guide, well explore the step-by-step process of cutting a juice groove, offer expert advice to refine your technique, and discuss the significance of this feature for culinary professionals. Whether youre a seasoned chef or a woodworking enthusiast exploring kitchen essentials, this guide has you covered.

Importance of Juice Grooves
Not all cutting boards offer the same benefits. While flat boards are versatile, they often fail to contain the juices that leak from fruits, vegetables, and meats. This is where the juice groove comes into play. It serves as a channel for collecting liquids, preventing mess and promoting hygiene. For culinary professionals, this feature ensures precision and helps keep the workspace orderly. Without it, the chances of cross-contamination and unsafe work conditions rise dramatically.
Advantages of Adding a Juice Groove
- Improved Efficiency: Keeps your workspace tidy and minimizes cleanup.
- Enhanced Safety: Lowers the risk of slips and accidents from spilled liquids.
- Professional Quality: Adds functionality and aesthetic value, making it ideal for gourmet kitchens.
Tools Required to Cut a Juice Groove
Before you start, ensure you have the necessary tools at your disposal for successfully cutting a juice groove:
- Router: Either hand-held or table-mounted, use a core box bit or round nose bit.
- Router Guide: This will help you maintain a consistent groove width.
- Cutting Board: Choose a sturdy wooden cutting board.
- Pencil and Ruler: For marking the trajectory of the groove.
- Sandpaper: To smoothen the edges of the groove afterward.
- Clamps: To securely hold the cutting board in position.
You can find high-quality cutting boards and explore the differences between wood and plastic boards to ensure you're using the best material for your needs.
Step-by-Step Instructions for Cutting a Juice Groove
Step 1: Select the Right Cutting Board
The initial step involves choosing the right type of board. Wooden boards are favorable due to their durability, ease of use, and superior aesthetic. Hardwoods such as maple, cherry, or walnut are particularly well-suited for culinary professionals.
Step 2: Draw the Groove Outline
Using your pencil and ruler, sketch the path of the groove. Juice grooves are usually designed about 1 inch from the board's edge and should have a consistent width for an optimal outcome.
Step 3: Prepare the Router
Attach your core box or round nose bit to the router and set the depth based on how deep you want the groove to begenerally between 0.125 to 0.25 inches is recommended. Make sure the depth remains consistent throughout your cutting.
Step 4: Secure the Board
Tightly clamp the cutting board to your work surface. This ensures stability while routing and guarantees a clean, even cut.
Step 5: Begin Routing
Utilizing the router guide, carefully follow the outline youve created. Move the router slowly and steadily to maintain precision. If you're new to this, its wise to practice on a scrap piece of wood first.
Step 6: Sand the Edges
After finishing the juice groove, take sandpaper and smooth out the edges. This will enhance usability and give your cutting board a polished, professional appearance.
Tips for Perfecting Your Juice Groove
- Practice Makes Perfect: If this project is new to you, try routing the groove on a scrap piece of wood first.
- Measure Twice, Cut Once: Double-check your outlined groove to avoid errors.
- Prioritize Safety: Remember to wear safety gear and operate your tools carefully.
For further reading on kitchen safety and cutting boards, refer to this informative resource: Cutting Board Safety Tips.
Avoid These Common Mistakes
Even seasoned woodworkers and culinary experts can stumble while learning how to create a juice groove in a cutting board. Here are some common pitfalls to watch out for:
- Inconsistent Grooves: This may occur if your router depth fluctuates.
- Too Close to the Edge: A groove positioned too near the edge can weaken the board.
- Skipping Sanding: Leaving rough edges can deter from the board's usability and appearance.
Frequently Asked Questions
Whats the best cutting board material for juice grooves?
Hardwood boards like maple or walnut are the top choices. They combine durability with ease of handling, while also allowing for a premium finish.
Is a router essential for creating a juice groove?
While a router provides efficiency and precision, skilled woodworkers may opt for chisels or manual tools to achieve similar results. That said, achieving the same consistency manually can be quite challenging.
What depth should the juice groove have?
A depth of 0.125 to 0.25 inches is typically recommended; this measurement is sufficient to hold liquids without compromising the integrity of the board.
If you're looking for further inspiration on customizing cutting boards, take a look at this guide: Cutting Board Projects.

Conclusion
Learning how to create a juice groove in a cutting board is a valuable skill for chefs and woodworkers alike. By following the steps in this guide, you'll add both utility and flair to your boards, enhancing their effectiveness and beauty. Whether you're trying this for the first time or seeking to refine your technique, mastering how to create a juice groove in a cutting board will not only elevate your artisan skills but also boost your efficiency in the kitchen.
This article contains affiliate links. We may earn a commission at no extra cost to you.


Leave a comment
This site is protected by hCaptcha and the hCaptcha Privacy Policy and Terms of Service apply.