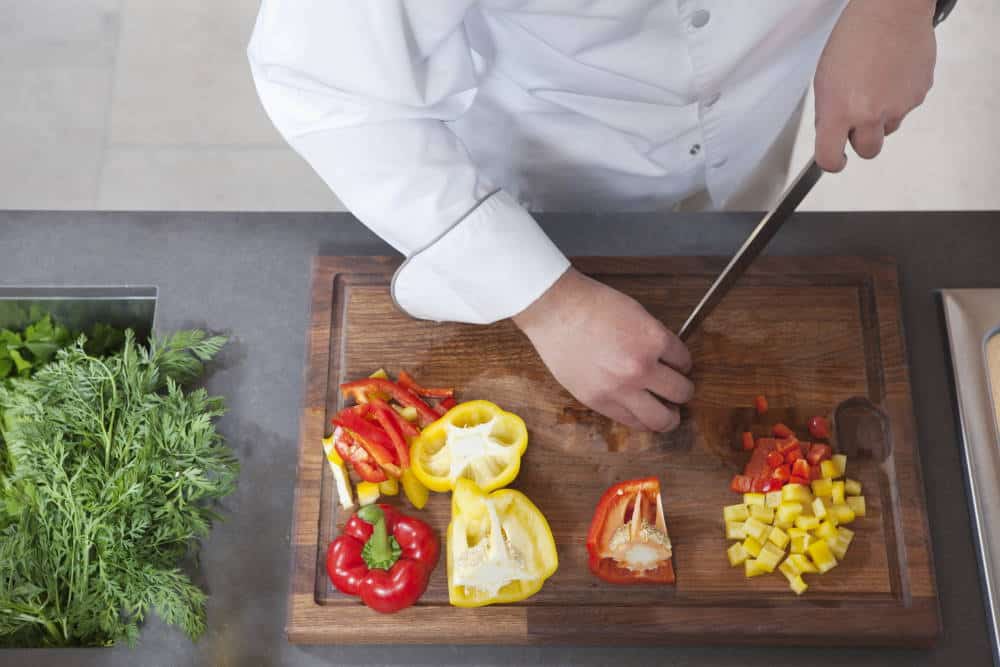
A cutting board is a kitchen staple, especially for professionals who require both functionality and durability. But maintaining it and ensuring its longevity requires proper finishing techniques. If you're wondering how to finish cutting board to perfection, this guide will walk you through everything you need to know, providing practical tips and expert methods.
Proper finishing protects your cutting board from absorbing bacteria, cracking, or warping. The finishing process involves cleaning, sanding, oiling, and sealing, which well discuss in detail to help your board remain sanitary and long-lasting.

Why Finishing Your Cutting Board Matters
As a kitchen professional, the longevity and safety of your tools are paramount. A properly finished cutting board not only ensures a smooth working surface but also prevents hygiene risks like mold buildup or cracking. Heres why finishing is essential:
- Hygiene Benefits: Regular finishing prevents the board from absorbing unwanted odors and bacteria, making it safe for food preparation.
- Improved Aesthetic: Finishing brings out the natural beauty of the wood, keeping it professional-looking.
- Durability: A well-maintained cutting board is less likely to warp, split, or crack under regular use.
The Basics of Finishing a Cutting Board
Here are the steps you need to follow when learning how to finish cutting board properly:
Step 1: Clean Your Cutting Board
Start by thoroughly washing the board. Use warm water and mild dish soap. Scrub away food debris but avoid soaking the board, as excess water can weaken the wood fibers. Once washed, dry it with a clean towel.
Avoid the mistake of skipping this step. Cleaning ensures that no food particles are accidentally sealed in during the finishing process. Learn more about cutting board cleaning techniques at How to Clean and Sanitize Your Cutting Board.
Step 2: Sand the Surface
Grab a piece of 120-grit sandpaper and smooth out rough edges or scratches. Sanding restores its surface while ensuring better absorption of oil and sealant during finishing. For professional boards with tougher stains, use 180-220 grit sandpaper for finer smoothing.
Remember, always sand along the wood grain for the best results.
Step 3: Choose the Right Oil
The right oil is crucial for finishing. Use food-grade oils like mineral oil, coconut oil, or walnut oil, which help seal wood pores effectively. Avoid non-hardenable oils like olive oil, which can go rancid.
Detailed recommendations on oil selection can be found on Choosing Kitchen Oils.
Step 4: Apply the Oil
Pour a moderate amount of oil onto the board, then spread it evenly using a clean cloth. Let it sit for a few hours (or overnight for better absorption). Repeat this process until the oil starts pooling on the surface, indicating proper saturation.
Step 5: Seal with Beeswax Optionally
For added protection, apply a beeswax finish. Melt the beeswax (often used in a blend with mineral oil) and rub it across the board. This creates a waterproof barrier that adds shine and prevents stains.
Maintenance Tips for Cutting Board Professionals
Finishing isnt just a one-time activity. Heres how to prolong the life of your cutting board with regular care:
- Clean Promptly: Always clean the board immediately after use to prevent food staining.
- Refinish Monthly: Reapply oil and sand the board lightly to maintain its quality after heavy use.
- Avoid Dishwasher: Never place your cutting board in a dishwasher; the heat and water will ruin it.
- Daily Hygiene: Learn more hygiene tips on cutting board care by reading Cutting Board Safety.
Common Mistakes to Avoid When Finishing Cutting Boards
- Using the Wrong Oil: Always opt for food-safe oils; cooking oils like olive oil can spoil and smell.
- Skip Cleaning: Never apply oil or finish to a dirty board as it could seal in bacteria.
- Over or Under Sanding: Sanding too much can thin your board, while not enough leaves imperfections.
FAQs
What oil is best for finishing cutting boards?
Food-grade mineral oil is the most recommended option due to its non-toxic and long-lasting properties. You can also use walnut or coconut oil.
How often should I refinish my cutting board?
For professionals, refinishing once a month is ideal for heavy use. Household users can opt for every three to six months.
Can I use cooking oils to finish my board?
No, avoid cooking oils like olive oil as they can become rancid over time, leading to unpleasant smells and a sticky finish.

Conclusion
Finishing your cutting board is an essential practice for kitchen professionals who value durability, safety, and aesthetics in their workspace. Armed with proper knowledge and techniques on how to finish cutting board using oils, sanding, and sealing, you can ensure that your cutting board remains an indispensable part of your culinary arsenal.
This article contains affiliate links. We may earn a commission at no extra cost to you.


Leave a comment
This site is protected by hCaptcha and the hCaptcha Privacy Policy and Terms of Service apply.