Are you intrigued by the beauty and utility of a checkerboard cutting board? These remarkable wooden masterpieces offer not only functionality but also stunning aesthetics for any kitchen. If you're a kitchen professional or a DIY enthusiast, there's nothing as rewarding as crafting your own cutting board. Plus, by making it yourself, you ensure the design is both personal and practical. Whether you want a life-changing project or a shocking conversation starter in your kitchen, crafting one of these boards is a tremendous undertaking that produces equally terrific results!
In this comprehensive guide, well delve into every detail of how to make a checkerboard cutting board. We'll not only make the process easy to follow but also reveal insider-approved tips that you've been missing out on. By using tremendous kitchen-friendly materials and techniques, you'll be delighted with your finished product.
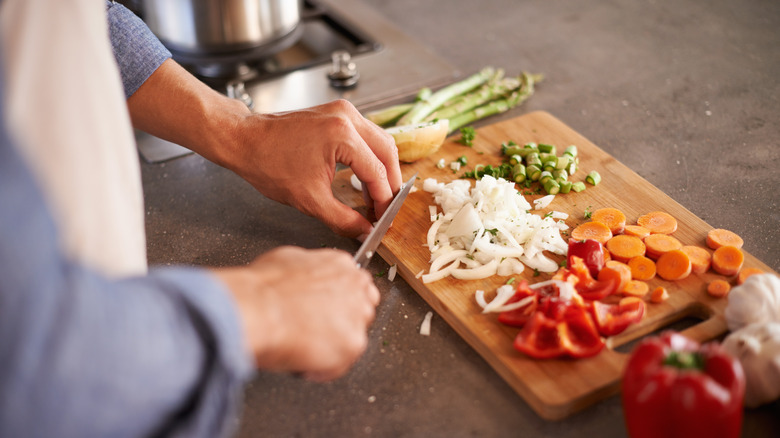
Why Every Kitchen Professional Needs a Checkerboard Cutting Board
Kitchens, whether professional or personal, deserve tools that are a mix of functionality and design. Cutting boards are an essential utility for chefs and home cooks alike, but imagine using one thats as artistic as it is useful. Here are some reasons why these boards are life-changing additions:
- Durability: The cross-grain pattern makes them sturdy and less prone to warping.
- Knife-Friendly: Their surface is softer on knives in comparison to plastic boards.
- Aesthetic Appeal: They're visually delightful and make a tremendous statement in any kitchen.
To learn more about proper cutting board usage and care, check out this cutting board care article.
Gathering Tremendous Materials for Your Project
Before we dive into the step-by-step process of how to make a checkerboard cutting board, it's important to gather the right materials and tools. Here's your list of must-have supplies:
Wood Selection
- Choose two types of contrasting hardwoods like maple and walnut for the checkerboard look.
- Ensure the wood is food-safe and untreated.
Tools Checklist
- Table saw or a straight-edge saw.
- Planer or orbital sander to smoothen the edges.
- Wood glue thats kitchen-safe and moisture-resistant.
- Clamps to hold the board together while gluing.
- A finish such as food-grade mineral oil or beeswax.
For wood selection tips specific to the kitchen, take a quick read here: Benefits of Wooden Cutting Boards.
Step-by-Step Instructions to Craft Your Cutting Board
1. Cutting the Wood
Start by cutting your chosen hardwoods into uniform strips. The dimensions typically range between 1 to 2 inches wide. Ensure all your cuts are even as this sets the foundation for the checkerboard pattern.
2. Gluing the Strips
Apply wood glue generously along the sides of each strip, then join them together to create your first board. Use clamps to hold it tightly while the glue dries (approximately 24 hours).
3. Flattening and Resawing
Once the glue has set, use a planer or an orbital sander to flatten the board surface. Next, cut the glued board into strips of even width.
4. Creating the Checkerboard Design
Rotate every alternate strip to form the checkerboard pattern. Once satisfied with the arrangement, glue the strips again following the same gluing and clamping process.
5. Final Sanding and Finish
Give your board a smooth finish by sanding it multiple times with fine-grit sandpaper. Afterward, apply a food-safe finish like mineral oil to protect the wood and boost its appearance.
For insights on sealing a board, click this link: How to Seal Wood.
Maintenance Tips for Longevity
To maintain your checkerboard cutting boards durability and appearance, here are helpful tips:
- Clean it thoroughly with warm water and mild soap after use.
- Reapply mineral oil monthly for moisture retention.
- Avoid submerging the board in water for long periods.
For a detailed cleaning guide, you can read here: Cleaning Boards Properly.
FAQs
1. Can I use soft woods for my checkerboard board?
Soft woods are not ideal for cutting boards as they wear out quickly and can damage knives. Prioritize hardwoods like maple, walnut, or cherry.
2. Are checkerboard cutting boards dishwasher safe?
No, wooden cutting boards should not be dishwasher cleaned as the heat and moisture can cause warping.
3. How often should I reseal my cutting board?
Apply a food-safe finish like mineral oil monthly or when the board appears dry.
Ready to begin your project? Dive in and make a board that's not only practical but an eye-catching piece in your kitchen!
This article contains affiliate links. We may earn a commission at no extra cost to you.



Leave a comment
This site is protected by hCaptcha and the hCaptcha Privacy Policy and Terms of Service apply.