
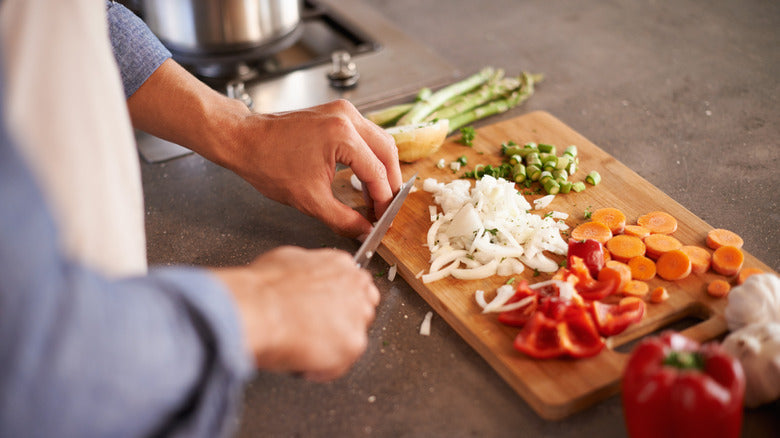


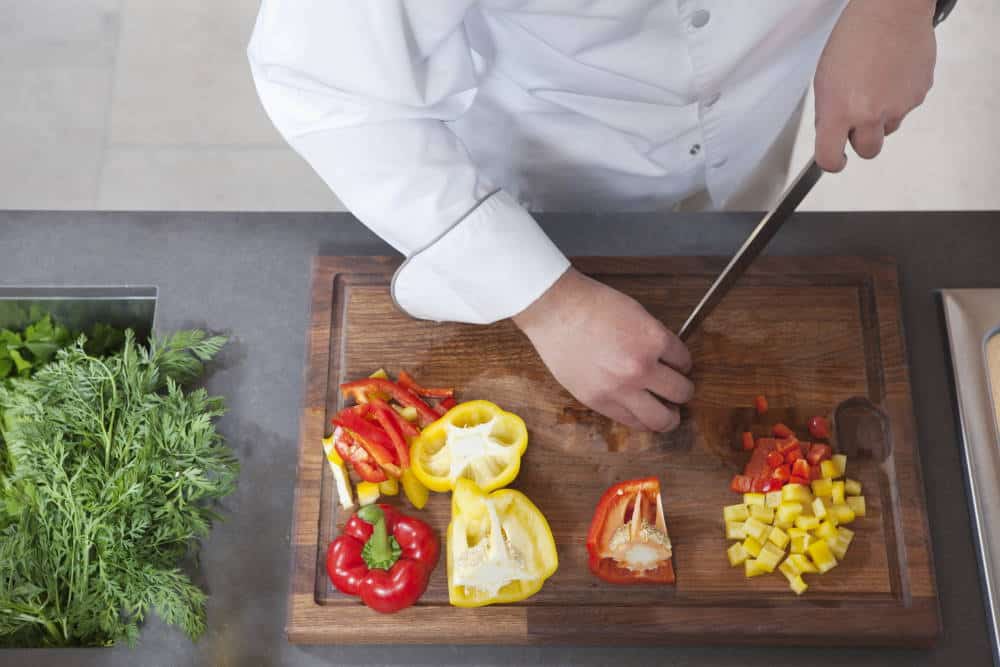
For kitchen professionals looking to combine practicality with artistry, creating your own cutting board is a tremendous and rewarding experience. Whether you're an enthusiastic cook or a culinary pro, learning how to make a cutting board for beginners opens doors to personalizing your kitchen workspace with this vital tool. And the best part? It's remarkably easy and fun for anyone just starting out!
In this in-depth guide, we'll walk through step-by-step instructions, provide insightful tips, and share shocking expert-approved methods to help you craft a cutting board that's functional, beautiful, and durable.

Why Make Your Own Cutting Board? The Big Benefits
Commercial cutting boards are mass-produced, lacking the personal touch or customization needed by most kitchen professionals. By building your own, youll enjoy:
- Customization: Choose the size, wood type, and design that meets your needs.
- Durability: Handmade boards use stronger materials, lasting far longer than store-bought ones.
- Hygiene: Select woods with natural antibacterial properties to craft a sanitary cutting board.
- Eco-Friendly: Use responsibly sourced wood and reduce waste by avoiding poorly made factory boards.
Wood Selection: The Foundation of a Remarkable Cutting Board
Your choice of wood can make or break your project. Stick to hardwoods like maple, walnut, or cherry, which are sturdy and safe for food preparation. Stay away from softer woods like pine, since they dent easily and arent ideal for knives. Did you know certain wood colors also affect the aesthetics? Check this cutting board colors guide for insights!
What Youll Need to Get Started
Heres a life-changing list of materials and tools youll need:
- Hardwood pieces (maple, cherry, walnut, or contrasting types for style)
- Tape measure and ruler
- Wood glue
- Saw (circular or table saw preferred)
- Clamps (to hold wood securely while curing)
- Sandpaper with varying grits
- Food-safe mineral oil
- Optional: Engraving tools for customized designs
For kitchen professionals nervous about warping, read our amazing tips in this guide on preventing cutting board warping.
Step-by-Step Instructions for Building Your First Cutting Board
Step 1: Measure and Cut the Wood
Begin by cutting the wood pieces to size. If youre a beginner, start with simple rectangular dimensions like 12x18 inches.
Tip: Always measure twice before cutting to ensure precision. A mistake here will impact the boards functionality!
Step 2: Arrange the Boards
Lay the planks side by side, alternating light and dark woods for contrast. This arrangement adds a strong visual impact.
Step 3: Glue the Wood
Apply wood glue liberally along the edges and clamp the boards together. Leave them to cure for 24 hours.
Step 4: Sand Down the Surface
Once dried, sand both sides using coarse-grit paper first, followed by finer grits. Smooth edges prevent splinters during use.
Step 5: Finish with Mineral Oil
Coat your board with food-safe mineral oil. Not only does this highlight the wood grain beautifully, but it also provides moisture resistance and extends the life of your board.
Need to keep your board looking fresh? Brightening your board is easier than you think!
Additional Maintenance Tips for Kitchen Pros
After making your cutting board, maintain it with these tips:
- Clean promptly after each use with hot water and mild soap.
- Never soak the board in water to prevent warping.
- Reapply mineral oil every 3-4 weeks to keep it sealed and shiny.
- Have issues with odor? Learn why cutting boards smell and how to eliminate bad odors effectively!
Conclusion: Approved by Chefs Everywhere
Mastering how to make a cutting board for beginners is not just a skillits a gateway to creating life-changing tools for your kitchen. Whether for personal use or as a gift, your custom cutting board will stand out both functionally and aesthetically.
Interested in more woodworking projects? Explore more brilliant ideas for transforming your kitchen space here on Craftsy.
FAQ
1. What type of wood is best for beginners?
Hardwoods like maple and cherry are ideal as they are easy to work with and safe for food prep.
2. How long does it take to make a board?
With proper planning, you can complete the project in 2-3 days, including glue curing time!
3. Can I make small-sized personalized boards?
Absolutely! You can craft smaller boards perfect for specific tasks like chopping herbs or fruits.
This article contains affiliate links. We may earn a commission at no extra cost to you.
Leave a comment
This site is protected by hCaptcha and the hCaptcha Privacy Policy and Terms of Service apply.