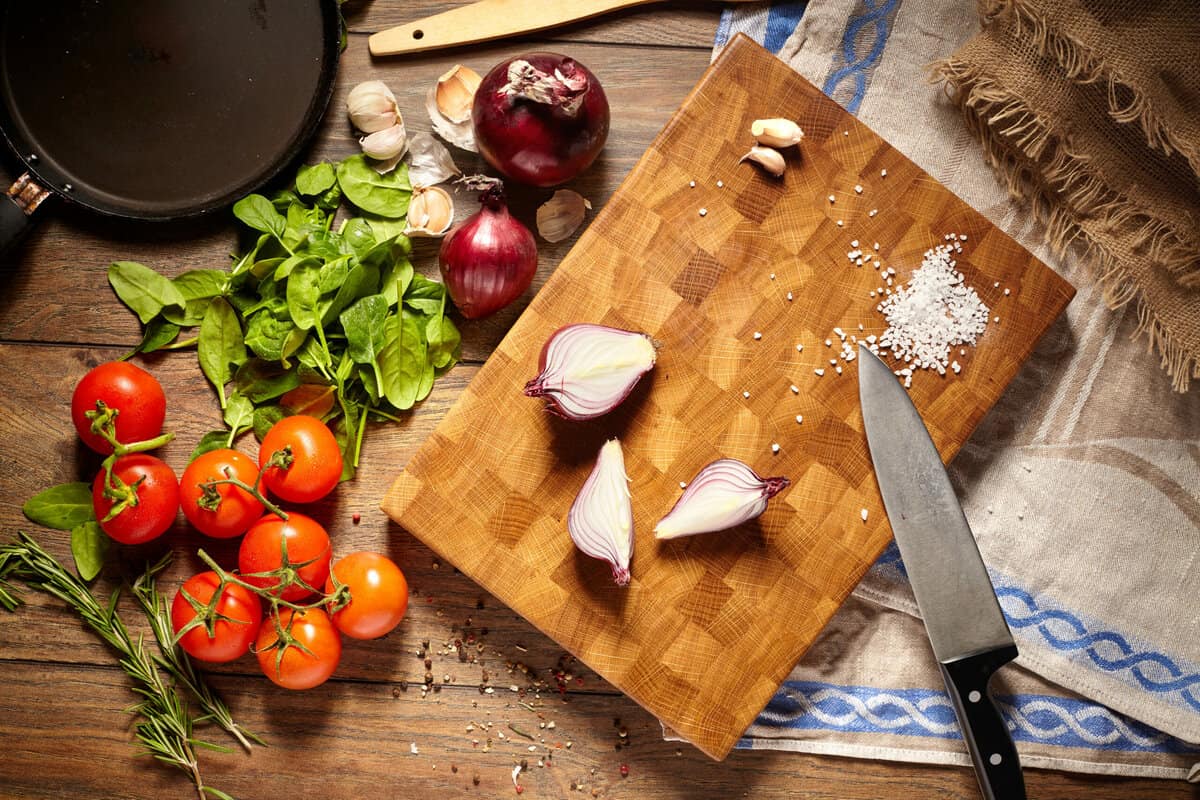
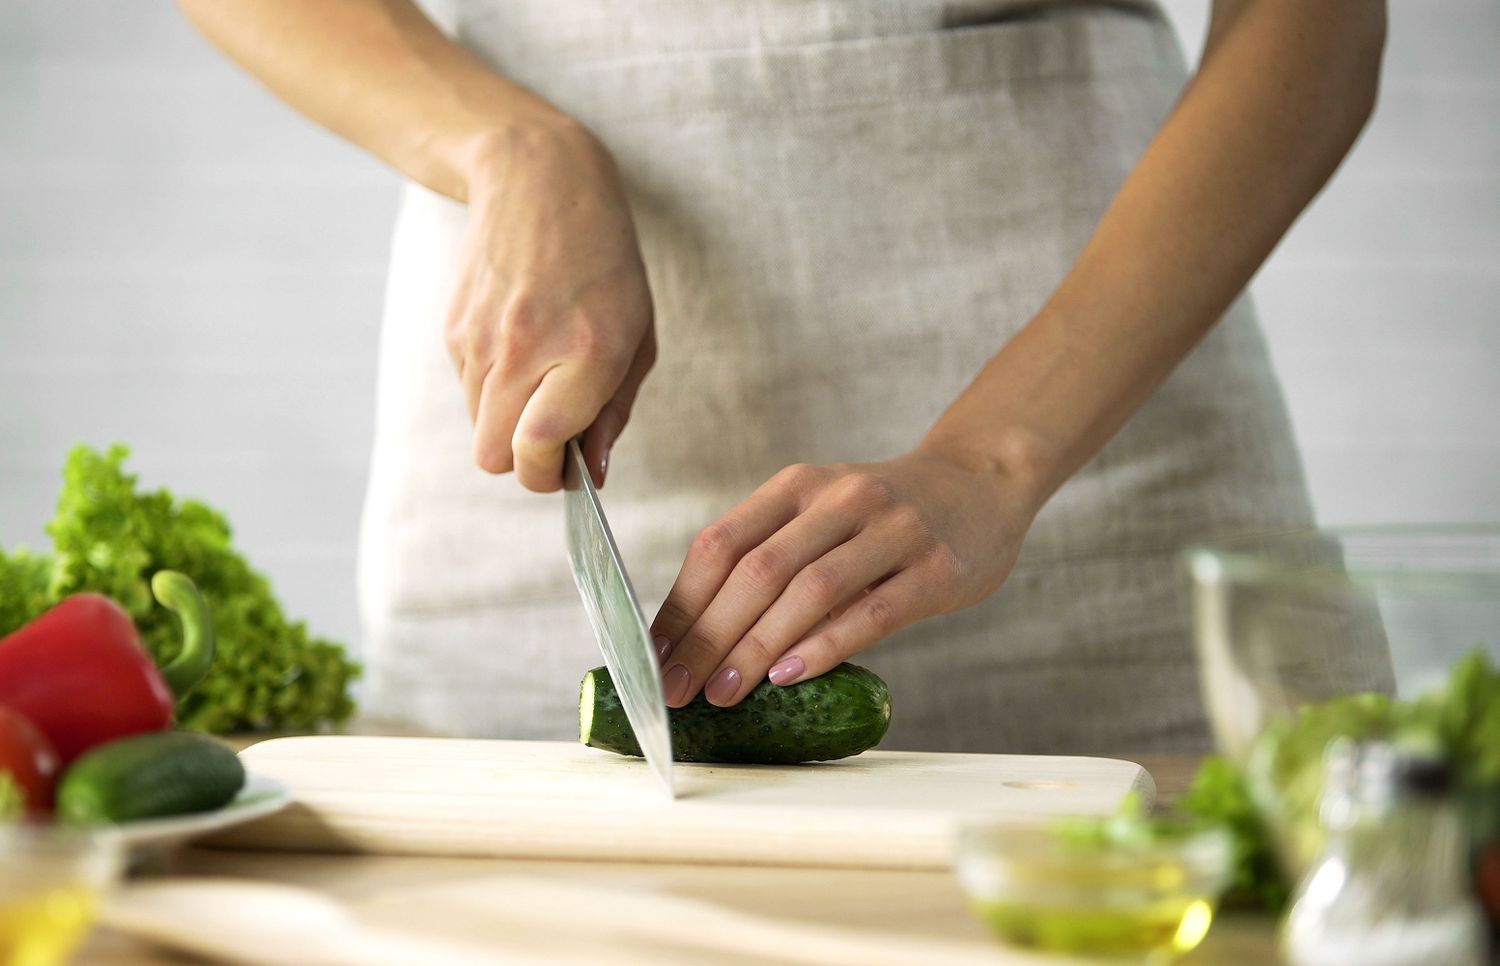
Whether you're a culinary expert or a home cook, a cutting board is one of the most crucial tools in your kitchen. Over time, even the most durable cutting boards can become worn out, collect stains, and develop grooves that trap bacteria. For kitchen professionals, maintaining your cutting board is not just about functionalityit's about food safety, hygiene, and aesthetics too. In this guide, we'll take you step by step through the process of how to refinish cutting board to extend its life and keep it performing at the highest level.
When properly maintained, your cutting board can last for years and remain a safe, reliable surface for food preparation. Refinishing a cutting board doesnt have to be daunting, but it does require the right tools, techniques, and attention to detail. Let's dive into how professionals can tackle this task effectively.

Why Should You Refinish a Cutting Board?
Understanding why refinishing is essential is the first step. A cutting board goes through heavy wear and tear. From knife marks to moisture damage, these issues can compromise its quality and safety. Here's why you should refinish:
- Hygiene: Deep grooves and scratches can harbor bacteria, making your board unsafe to use.
- Aesthetics: Regular refinishing will bring back the natural beauty of the wood.
- Durability: Proper maintenance can prevent cracking, warping, and other damage.
Most importantly, regular upkeep ensures your board meets the high standards required in professional kitchens.
Step-by-Step Guide: How to Refinish Your Cutting Board
Step 1: Gather Your Supplies
Before you start, ensure you have the following:
- Coarse and fine-grit sandpaper (80 grit, 120 grit, and 220 grit work best)
- Food-safe mineral oil (avoid cooking oils, which can become rancid)
- Clean cloths or rags
- Sponge and mild dish soap for cleaning
- Optional: beeswax for added protection
If you need a detailed guide about selecting the best supplies, check out how to sand cutting board. This resource provides in-depth insights on the materials and tools to use.
Step 2: Clean Your Board
Before sanding, give your cutting board a thorough cleaning to remove residue and stains. Use a sponge and mild dish soap under warm water. Avoid soaking the board as excessive moisture can warp and damage the wood. For tough stains, consider using a baking soda and lemon paste. For more tips, you can explore how to clean a white cutting board.
Step 3: Sand the Surface
Next, its time to sand your cutting board. Start with coarse sandpaper (80 grit) to remove deep scratches or stains, then move to medium grit (120 grit), and finish with fine grit (220 grit) for a smooth surface. Always sand in the direction of the wood grain, not against it. This not only smooths out the surface but also preserves the wood's fibers.
If sanding sounds intimidating, don't worry! Refer to this detailed guide: how to sand cutting board.
Step 4: Oil Your Board
Oiling is a crucial part of the process. Once youve sanded the board, wipe it down with a clean, damp cloth to remove sawdust, then liberally apply food-safe mineral oil. Allow the oil to absorb for several hours or overnight. Repeat this process until the board stops absorbing oil, ensuring its well-nourished.
Step 5: Apply Beeswax (Optional)
A mixture of beeswax and mineral oil can offer additional protection. Rub it into the wood and buff it out for a polished finish. Beeswax also helps seal the surface, making it less prone to moisture problems.
Additional Maintenance Tips for Cutting Boards
Even after refinishing, regular care is necessary to ensure longevity. Here are a few tips:
- Never submerge your cutting board in water or put it in the dishwasher.
- Apply oil regularly to keep the wood hydrated.
- Sanitize your board with a vinegar solution to kill bacteria.
- Use dedicated boards for specific food types to prevent cross-contamination. (For more on this, read color of produce cutting boards.)
Common Mistakes to Avoid When Refinishing Cutting Boards
Even pros can make mistakes. Avoid these pitfalls:
- Skipping the cleaning step before sanding.
- Using the wrong type of oil, such as olive or vegetable oil.
- Over-sanding, which can thin out the board too much.
If youre unsure about choosing the right oil, you can read how to use mineral oil.
FAQ Section
1. How often should I refinish my cutting board?
It depends on the frequency of use. For high-volume kitchens, consider refinishing every 3-6 months.
2. Can I use cooking oils to refinish my cutting board?
No, cooking oils can turn rancid over time. Always use food-safe mineral oil specifically designed for cutting boards.
3. What should I do if my cutting board develops cracks?
Cracks are a sign of excessive drying. You can fill minor cracks with food-grade wood filler and sand them down, but larger cracks may require professional repair.

Conclusion
Maintaining your cutting board not only enhances its appearance but also ensures it remains safe and functional in a professional kitchen. By following these refinishing steps and implementing regular care practices, your cutting board will serve you well for years to come.
Looking for additional tips? Check out these resources on cutting board hygiene or cutting board maintenance to stay ahead in your kitchen game.
This article contains affiliate links. We may earn a commission at no extra cost to you.


Leave a comment
This site is protected by hCaptcha and the hCaptcha Privacy Policy and Terms of Service apply.