
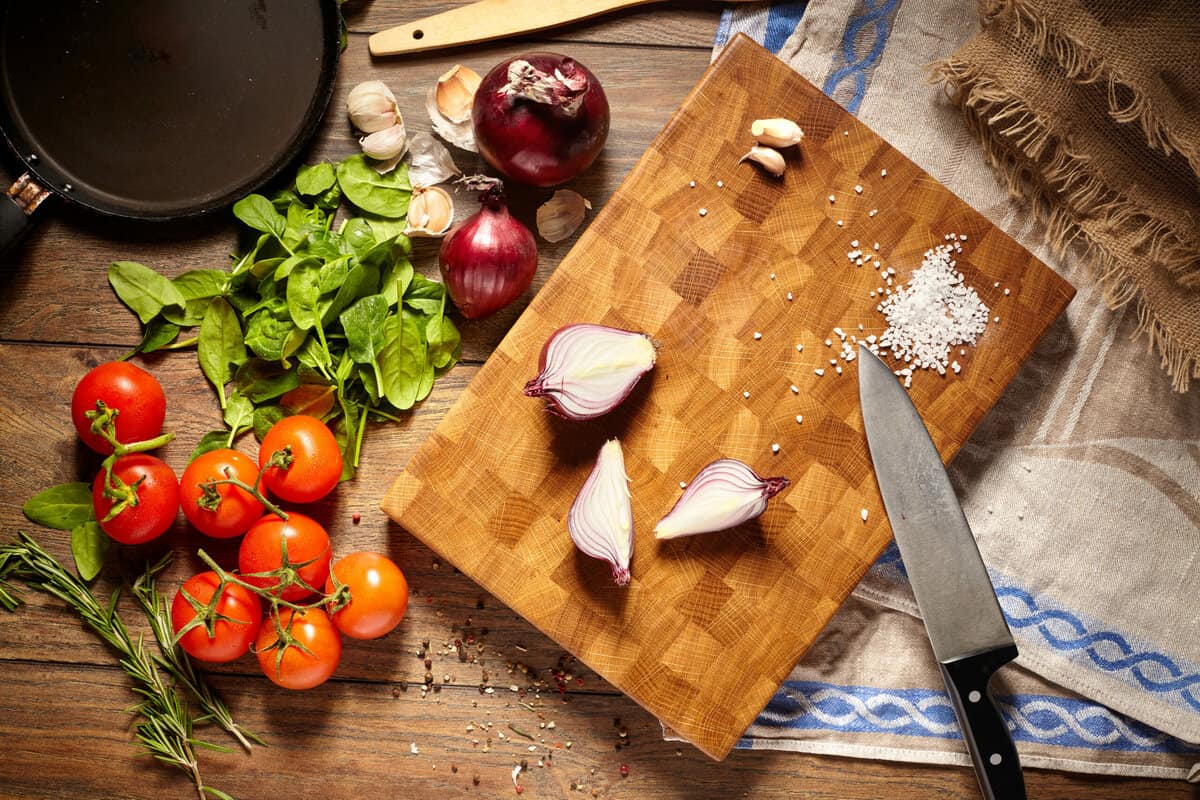


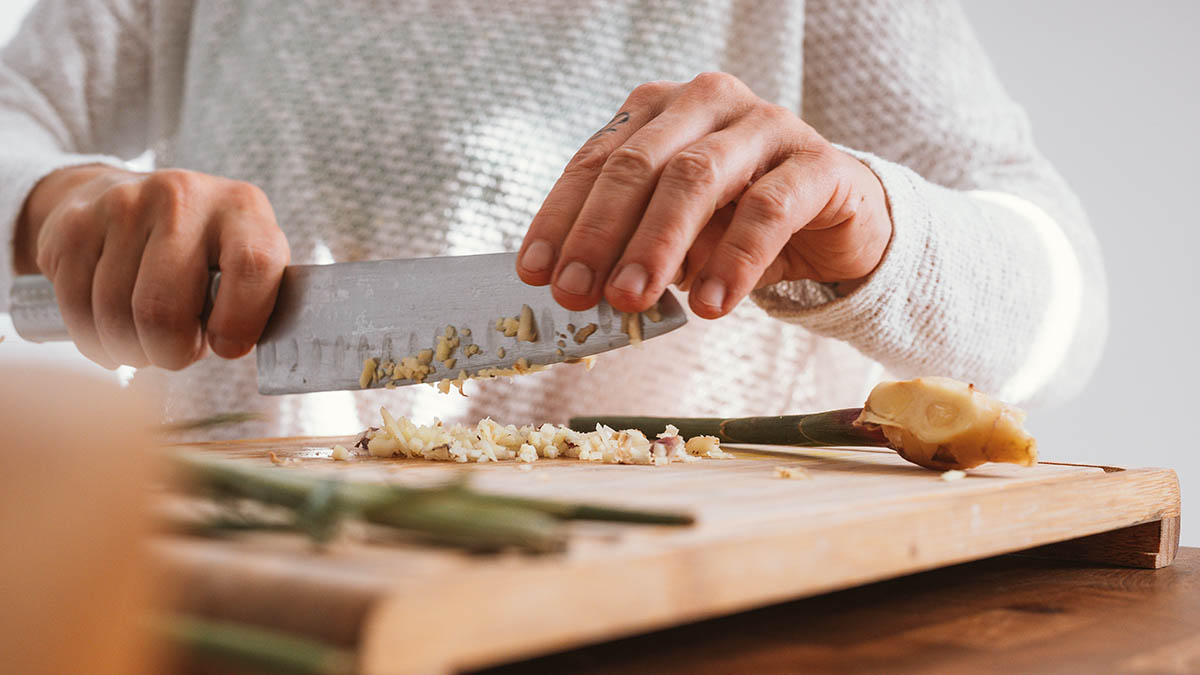
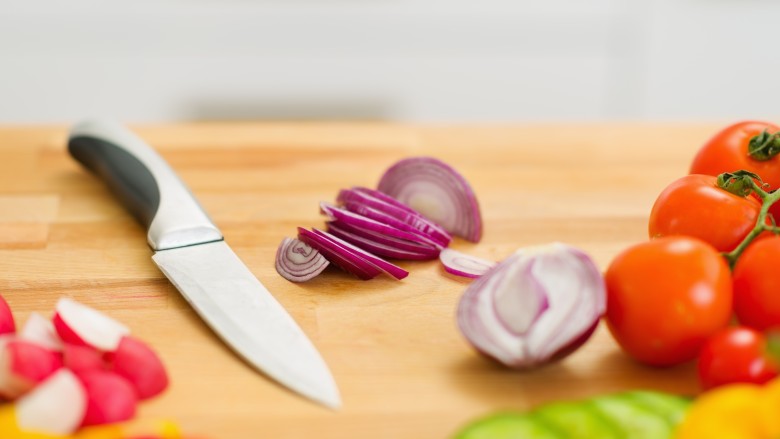
Wooden cutting boards are a staple in every professional kitchen. Their natural beauty, durability, and functionality make them a preferred choice for many chefs and kitchen professionals. Despite their appeal, however, wooden cutting boards can easily develop scratches over time. Whether caused by daily knife use or improper care, these scratches can trap bacteria and impact the boards aesthetic.
So, how to remove scratches from wooden cutting boards? In this article, well cover several easy and practical methods to help kitchen professionals breathe new life into their cutting boards. By following a few simple steps, you'll ensure not only a smooth wooden surface but also better hygiene and food safety in your cooking space.
Why Scratches Are a Problem for Wooden Cutting Boards?
Before diving into solutions, its essential to understand why addressing scratches matters. Tiny cuts and scratches on a wooden surface can become traps for food particles and bacteria. Left untreated, this can lead to contamination risks, especially in professional kitchen settings where hygiene is paramount.
Moreover, scratches can make the surface uneven, causing challenges during food preparation. Over time, these flaws may weaken the structural integrity of the wooden board, leading to splits or even warping.
Challenges in Removing Scratches
- Wood type: Softer woods like pine are more susceptible to deeper scratches compared to hardwoods like maple or walnut.
- Finish: Some cutting boards come with a pre-applied finish. Removing scratches may compromise the top layer, requiring refinishing.
- Tools: Using the wrong tools, like coarse sandpaper, may cause further damage.
Steps to Remove Scratches From Wooden Cutting Boards
Step 1: Thorough Cleaning
Start by cleaning your wooden cutting board thoroughly. Use warm water and a gentle soap to remove any surface residue. Avoid soaking the board to prevent water absorption, which may cause warping.
For more on cleaning wooden cutting boards, visit this guide by Real Simple.
Step 2: Assessing the Depth of Scratches
Not all scratches are created equal. Deeper cuts may require more effort and tools, while superficial scratches can usually be resolved with light sanding.
Step 3: Sand the Board
To remove scratches, sand the wood with fine-grit sandpaper such as 120 grit, then move up to 220 grit for a smooth finish. Heres a guide on choosing sandpaper grit.
Sand the scratched area in the direction of the grain to avoid further damage. Apply even pressure and check your progress frequently.
Step 4: Condition the Wood
After sanding, apply a food-safe mineral oil to rehydrate the wood and restore its natural luster. Apply generously and let it sit for several hours, wiping away excess oil with a clean cloth.
Learn why conditioning is critical in our resource on maintaining end-grain cutting boards.
Preventing Future Scratches
Use the Right Tools
- Opt for sharp knives instead of dull ones, as dull knives require more pressure, increasing scratches.
- Rotate the use of multiple cutting boards to prevent wear in one area.
Keep the Board Clean and Conditioned
Regular cleaning and conditioning keep the wood moisturized and less prone to damage. Read more about keeping boards clean in this cleaning guide.
Avoid Extreme Conditions
Both excessive water exposure and high heat from dishwashers can damage the integrity of wood. Always air-dry your cutting boards to prevent warping.
Frequently Asked Questions
Why Is It Essential to Remove Scratches from Wooden Boards?
Removing scratches helps maintain hygiene by eliminating bacteria traps. It also prolongs the boards life and keeps it visually appealing.
Can I Use a Machine to Sand My Cutting Board?
Yes, but ensure you use a fine sanding pad and maintain control to avoid uneven surfaces.
What Should I Do if My Wooden Cutting Board Smells?
Clean it with a mixture of lemon and salt, then recondition it with food-grade mineral oil.
For more tips, check out this hygiene guide.
Closing Thoughts
Learning how to remove scratches from wooden cutting boards is an essential skill for any kitchen professional. A little care goes a long way in preserving the functionality, aesthetics, and safety of your cutting boards. Follow these steps, and your wooden boards will last for years to come.
This article contains affiliate links. We may earn a commission at no extra cost to you.
Leave a comment
This site is protected by hCaptcha and the hCaptcha Privacy Policy and Terms of Service apply.