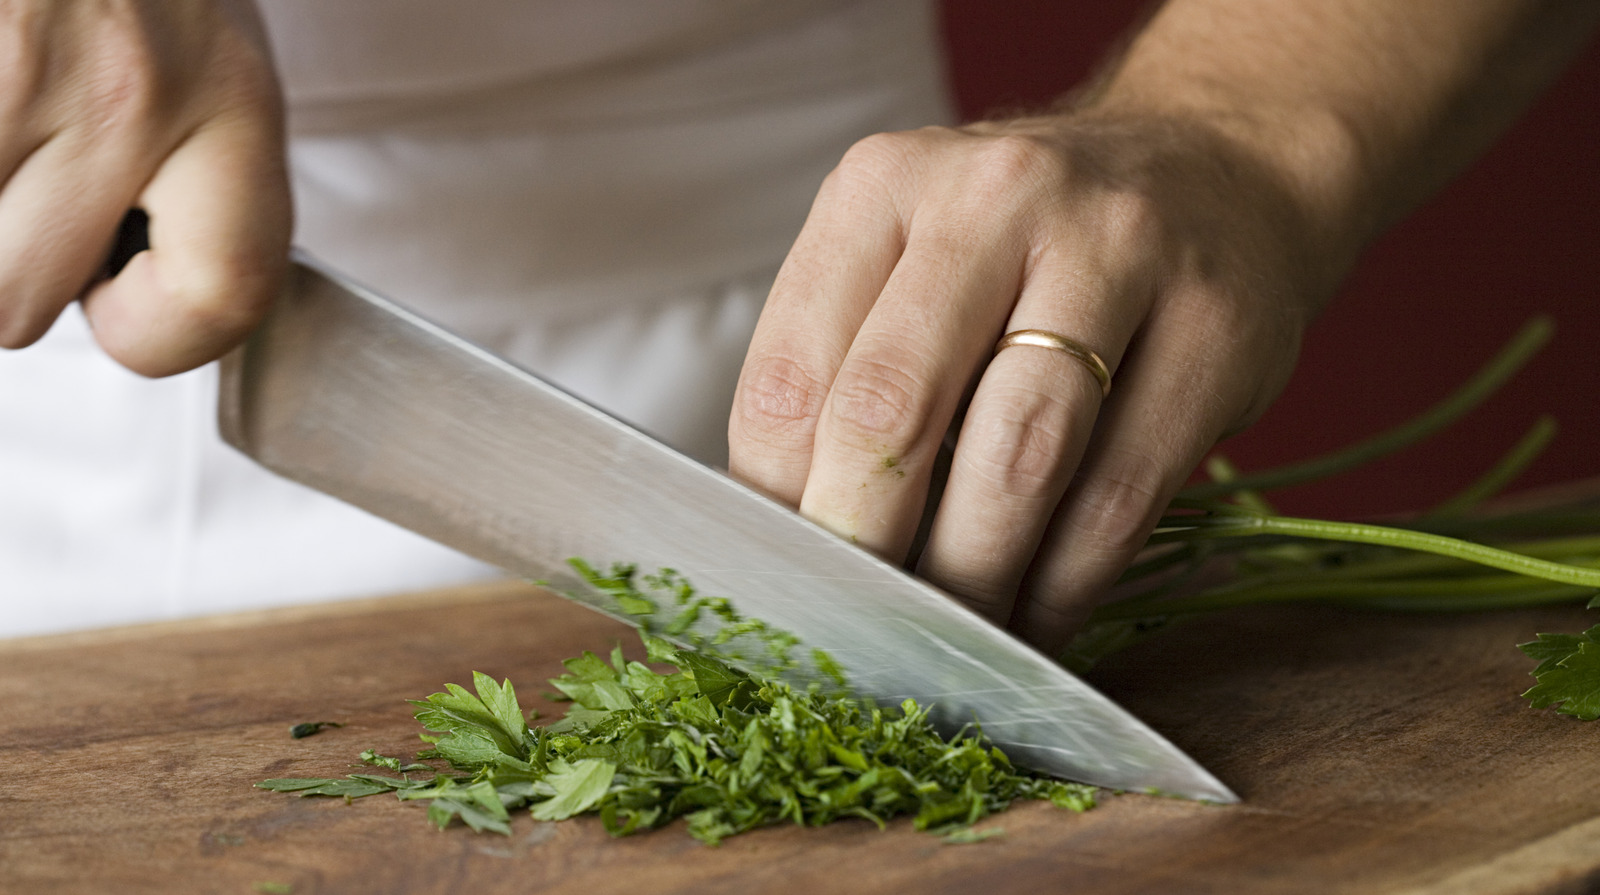
If you're a professional chef, home cook, or anyone who uses a wood cutting board, you've likely noticed that over time, the surface of your board begins to wear down. Regular use causes the board to dry out, crack, or lose its smooth surface. That's where resealing comes in. Understanding how to reseal a wood cutting board can significantly extend its life and keep it in peak condition.
In this comprehensive guide, we'll walk you through every detail you need to know about resealing your cutting board, its importance, and how professionals maintain their tools for optimal performance.

Why Does Your Cutting Board Need Resealing?
A wood cutting board is one of the most versatile tools in any kitchen. Unlike plastic options, wood is self-healing to an extent and provides a better cutting experience. However, due to continuous use and exposure to water and cleaning agents, wood boards lose their protective layer of oil or wax, leading to dryness or cracks. Resealing corrects this by restoring the board's protective coating.
According to Interismo, regularly resealing your cutting board not only helps in maintaining its pristine appearance but also prevents mold, bacteria growth, and warping.
Essential Supplies Needed for Resealing
- Food-grade mineral oil
- Wood wax or beeswax
- Fine sandpaper (220 grit is ideal)
- A soft, clean cloth or paper towels
- A brush or sponge for application
Using materials specifically suited for food surfaces is critical for safety. Avoid non-food-safe oils as they can go rancid and ruin your cutting board.
Step-by-Step Process: Resealing Your Wood Cutting Board
Step 1: Clean the Board Thoroughly
Before beginning the resealing process, ensure the board is completely clean. Wash it with warm water and mild dish soap, then let it dry completely. Any moisture left on the board can interfere with the oil penetration.
For stubborn stains or odors, sprinkle kosher salt onto the surface and rub it with half a lemon. This not only cleans the board but also removes any lingering smells. Learn more advanced cleaning techniques here.
Step 2: Sand the Surface
Next, use fine-grit sandpaper to sand the surface lightly. This will remove any minor scratches and smoothen the surface to ensure the oil penetrates evenly. Always sand in the direction of the wood grain.
Step 3: Apply Food-Grade Mineral Oil
Generously apply food-grade mineral oil using a clean cloth or brush. Allow the oil to soak in for at least six hours, or ideally overnight. Mineral oil deeply hydrates the wood and fills in small cracks or imperfections.
Step 4: Add a Wax Layer (Optional)
For additional protection, apply wood wax or beeswax after the oil layer has absorbed. This creates a barrier that locks in moisture, giving your board a glossy, water-repellent finish.
Step 5: Buff and Polish
Using a soft, clean cloth, buff the surface to remove excess oil or wax. This ensures your cutting board is smooth and ready for use.
How Often Should You Reseal Your Cutting Board?
The frequency of resealing depends on how often the board is used and washed. Typically, a heavily used cutting board should be resealed every two to three weeks. For boards used less often, resealing once a month is sufficient.
Extending the Life of Your Board: Pro Tips
- Avoid placing your cutting board in the dishwasher, as high temperatures and water can warp and damage it.
- Always store your cutting board in a cool, dry place.
- Clean the board immediately after use to prevent stains and lingering odors.
- For cleaning ideas beyond resealing, check out this guide.

FAQ Section
1. Can I use olive oil to reseal my wood cutting board?
No, olive oil and other non-mineral oils can go rancid over time, leading to unpleasant odors and contaminating your food. Always use food-grade mineral oil.
2. How do I know if my cutting board needs resealing?
If the wood appears dry, feels rough to the touch, or water no longer beads on the surface, it's time to reseal your cutting board.
3. Whats the difference between oil and wax for sealing?
Oil penetrates the wood to hydrate it, while wax adds a surface layer of protection against moisture and spills. Combining both offers the best of both worlds.
By following these professional tips on how to reseal a wood cutting board, you can ensure your kitchen tool remains in excellent condition for years to come. For more kitchen maintenance tips, consider reading about caring for cast iron grill pans or using woks effectively.
This article contains affiliate links. We may earn a commission at no extra cost to you.


Leave a comment
This site is protected by hCaptcha and the hCaptcha Privacy Policy and Terms of Service apply.