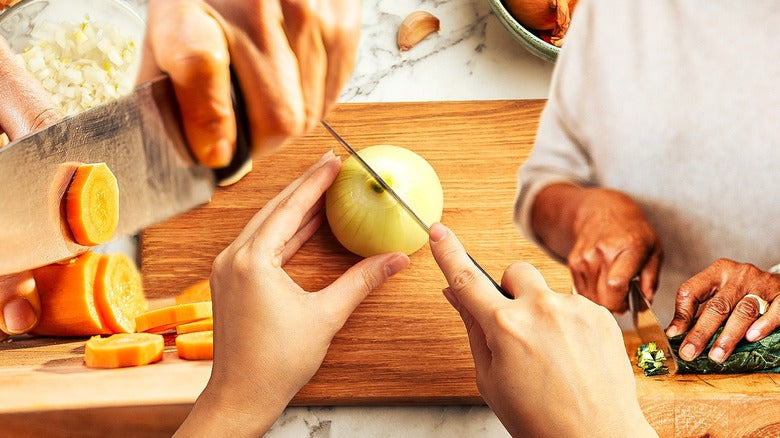
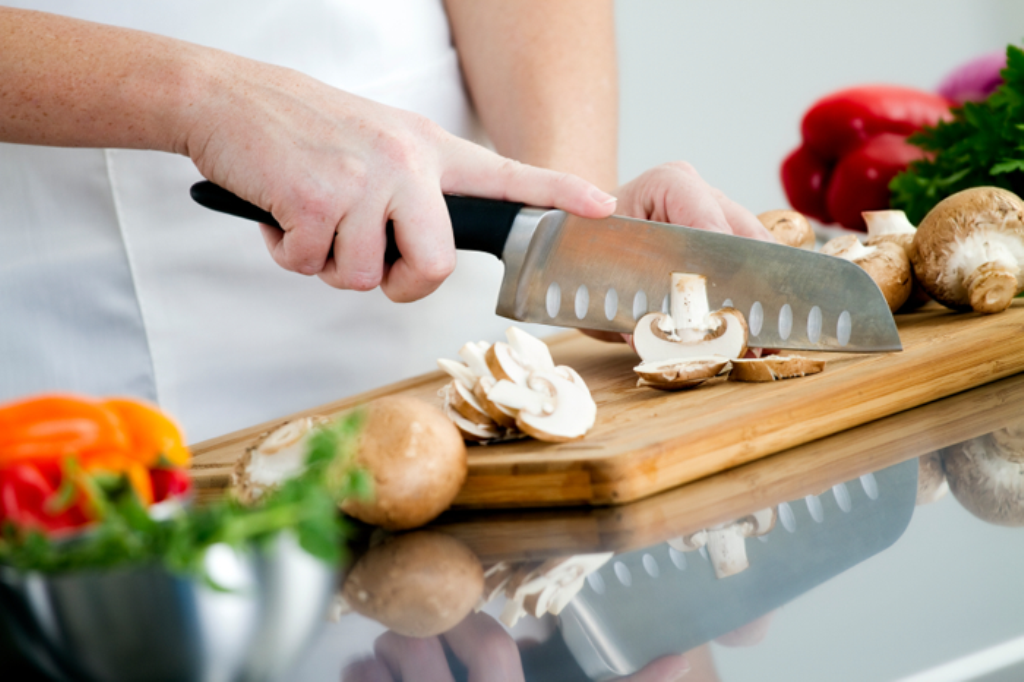
For chefs and kitchen professionals, a pristine cutting board is not just a toolits the foundation of precision, hygiene, and efficiency in the kitchen. Over time, even the best cutting boards, whether crafted from durable hardwoods or sleek bamboo, can develop surface wear such as scratches, grooves, or stains. Knowing how to resurface cutting board can breathe new life into this essential kitchen companion.
Resurfacing a cutting board is a practical and cost-effective skill that ensures you maintain a safe, bacteria-resistant surface. In this article, youll discover essential tips and techniques tailored especially for professional kitchens.

Why Is Resurfacing Your Cutting Board Vital?
Every kitchen professional knows the significance of maintaining top-notch tools. A cutting board with deep grooves or uneven surfaces can harbor bacteria, compromise food safety, and dull knives. Regular resurfacing not only extends the life of your cutting board but also ensures compliance with hygiene standards crucial for kitchen environments.
What Materials and Tools Do You Need?
Before diving into how to resurface cutting board, gather the following materials:
- Medium-grit and fine-grit sandpapers (80-120 grit and 220-320 grit)
- An orbital sander (optional but recommended for large boards)
- Food-grade mineral oil or a specialized cutting board oil
- A clean, lint-free cloth
- Clamps to secure the board (for stable sanding)
Pro tip: Using food-safe materials ensures your board remains compliant with health standards.
1. Clean the Cutting Board Thoroughly
Before sanding, clean the board to remove surface dirt and stains. Scrub it with a mixture of coarse salt and lemon if stains are heavy. Learn more cleaning tips in our related article, how to clean a marble cutting board. Allow the cutting board to dry completely for at least 24 hours.
2. Sanding the Surface
Start with medium-grit sandpaper to remove imperfections, scratches, and dents. Secure your board and sand in the direction of the grain. Work your way to fine-grit sandpaper to achieve a smooth, even finish. For warped boards, check our article, how to fix warped cutting boards.
3. Oiling and Conditioning
After sanding, wipe away any dust with a damp cloth. Apply food-grade mineral oil generously on all sides. Let your cutting board soak up the oil overnight. For tips on best practices, visit clean wooden cutting board.
How Often Should You Resurface?
For kitchen professionals using their cutting boards daily, resurfacing every few months ensures top functionality. Additionally, periodic cleaning and maintenance, as outlined here, help prolong its life.

FAQs
1. Can all cutting boards be resurfaced?
Resurfacing is typically meant for wooden and bamboo boards. Plastic boards can be resurfaced but are more cost-effective to replace if heavily worn.
2. How do I know when its time to resurface my cutting board?
Deep grooves, stains, and a rough texture are signs your cutting board needs resurfacing.
3. Is oiling necessary after resurfacing?
Yes! Oiling seals the surface, prevents moisture penetration, and keeps the wood healthy.
For more insights on cutting board maintenance, visit the Cutting Board Safety Guide.
This article contains affiliate links. We may earn a commission at no extra cost to you.


Leave a comment
This site is protected by hCaptcha and the hCaptcha Privacy Policy and Terms of Service apply.