


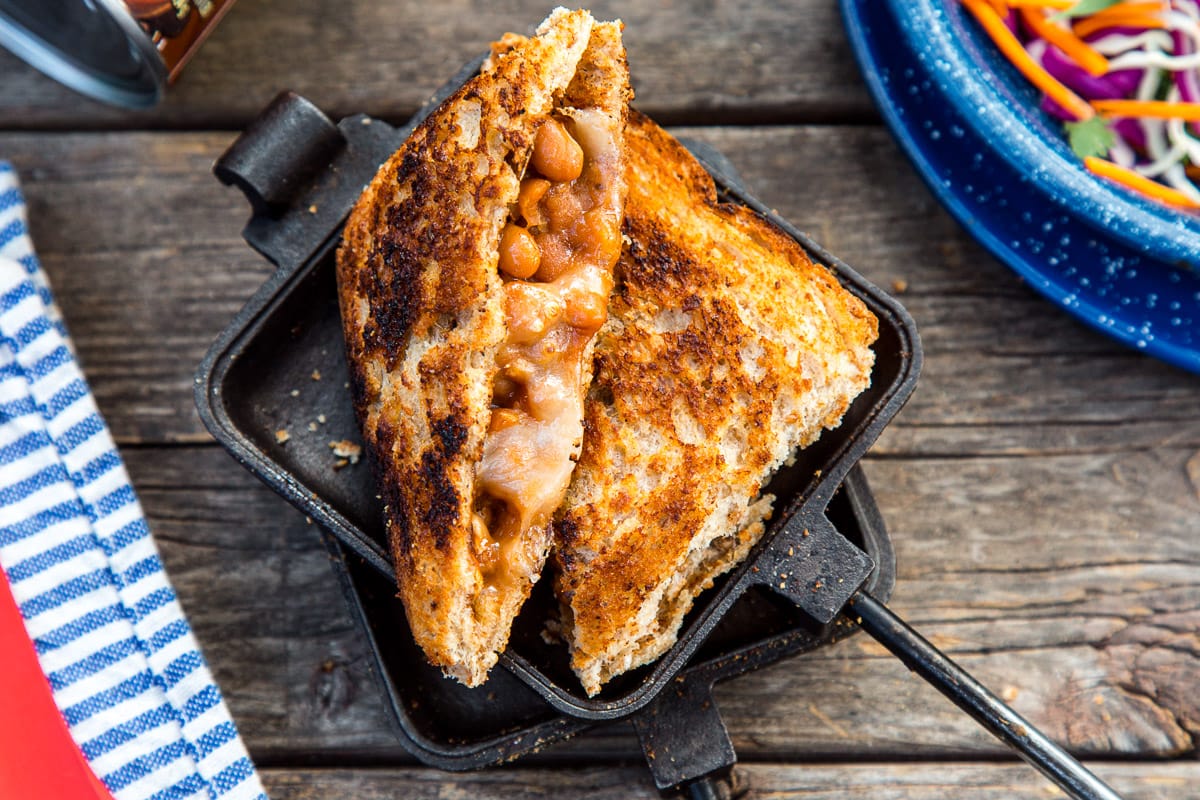
For kitchen professionals, achieving the perfect taste and texture in every dish is not just about ingredients but also about the tools used in the process. If you're aiming to enhance the taste of your campfire treats, understanding how to season a pie iron can be the game-changer. Properly seasoning this versatile tool not only prevents food from sticking but also adds a depth of flavor, making each meal memorable. Lets delve into the intricacies of this essential kitchen technique.
Understanding the Importance of Seasoning
A properly seasoned pie iron can revolutionize your cooking experience by adding both texture and flavor to your food. This process involves treating the iron with oil to create a non-stick, rust-resistant surface. Recent studies have shown that fats bond to the iron, transforming into a polymerized layer that protects the tool and enhances its cooking efficiency.
Step-by-Step Guide to Seasoning Your Pie Iron
Preparation and Necessary Supplies
Before getting started, gather the essentials: a pie iron, vegetable or flaxseed oil, a heat source, and a lint-free cloth. For more detailed tips on preparation, check out this article on Pie Iron Cooking.
Cleaning the Pie Iron
Kickstart the process by washing the pie iron with warm water to remove any manufacturing residues. Using a non-metallic brush can help in scrubbing off any grime without causing scratches, which might affect the final results.
Applying the Oil
Select a high-smoke point oil like vegetable oil. Dip the cloth into the oil and thoroughly coat every inch of the pie iron, including the handle. Make sure to remove any excess oil to avoid a sticky buildup.
Heating and Curing the Iron
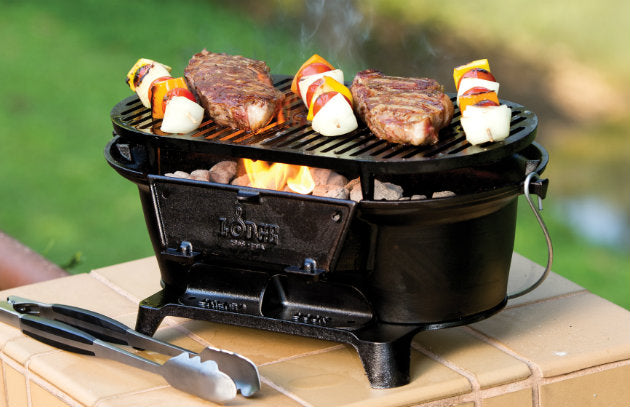
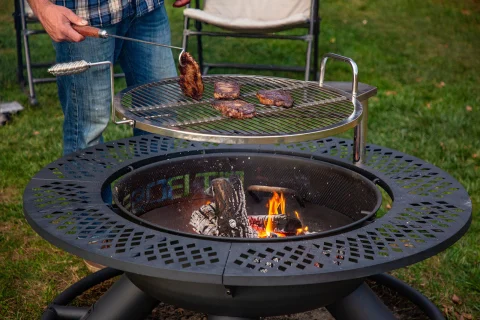
Heat the pie iron over a campfire or stove for about 15 minutes on each side until the surface turns a dark brown color. This step is crucial in ensuring the coating bonds well, providing long-lasting protection. For those cooking outdoors, understanding your Fire Pit Techniques can enhance the seasoning process.
Repeat for Best Results
Repeating the oiling and heating process at least two more times builds up a solid non-stick coating, especially before the first use. For upkeep, always clean the pie iron with a damp cloth after each meal, preserving its seasoned surface.
Common Mistakes and How to Avoid Them
One of the frequent blunders made by professionals is applying too much oil, leading to a gummy residue. Avoid this by using just enough oil to thinly cover the surface. Another mistake is using the wrong type of oil. For best results, consult our Oil Selection Guide.
Maintaining Your Seasoned Pie Iron
Regular maintenance of your pie iron involves minor reseasoning processes. After each use, clean the iron without soap and dry immediately. Reapply a thin layer of oil to sustain the integrity of the seasoning.
Storing the Pie Iron
Before storing, ensure the pie iron is dry to prevent rust. Use a breathable cloth bag for storage, as trapping moisture is counterproductive. Find out more about Storage Tips.
Conclusion
Learning how to season a pie iron not only elevates the quality of the food cooked but also extends the lifetime of the tool. By following this comprehensive guide, kitchen professionals can consistently achieve perfection in every meal prepared over an open flame.
FAQs
How often should I season a pie iron?
For optimal results, it's advisable to season your pie iron before its first use and then apply a light seasoning after every use.
Can I use olive oil to season the pie iron?
While olive oil can work in a pinch, it's preferable to use oils with a higher smoke point, such as flaxseed or vegetable oil, for the best seasoning surface.
What should I do if my pie iron starts to rust?
If rust appears, scrub the affected area with a steel wool pad, rinse, and reseason the pie iron promptly to prevent further damage.
This article contains affiliate links. We may earn a commission at no extra cost to you.
Leave a comment
This site is protected by hCaptcha and the hCaptcha Privacy Policy and Terms of Service apply.