


For kitchen professionals, the pursuit of culinary perfection is a never-ending journey. The art of creating the perfect popover is one such quest that demands precision, patience, and the right tools. Enter the cast iron muffin pan, a versatile kitchen staple that promises to elevate your popovers to new heights. In this guide, we'll delve into the intricacies of making popovers in a cast iron muffin pan, exploring the technique, the science, and the subtle nuances that make all the difference.

Why Choose a Cast Iron Muffin Pan?
Cast iron has long been revered in the culinary world for its unparalleled heat retention and even heat distribution. When it comes to baking popovers, these qualities are crucial. The cast iron muffin pan ensures that each popover rises uniformly and achieves that coveted crisp exterior while maintaining a light and airy interior. Unlike other materials, cast iron adds a depth of flavor and a rustic charm that is simply unmatched.
The Science Behind the Perfect Popover
Understanding the science behind popovers is key to mastering them. At its core, a popover is a type of batter bread that relies heavily on steam for its rise. When the batter is poured into a hot cast iron muffin pan, the moisture in the batter rapidly turns to steam, causing the popover to puff up dramatically. This is why preheating the pan is an essential step in the process. The initial blast of heat helps create the hollow center characteristic of a well-made popover.
For a deep dive into the importance of pan heating, check out our article on preheating sizzling plates.
Ingredients and Preparation
To achieve popover perfection, start with high-quality ingredients. You'll need all-purpose flour, eggs, milk, salt, and butter. The simplicity of these ingredients underscores the importance of technique. For a richer flavor, consider using whole milk and unsalted butter.
Begin by preheating your cast iron muffin pan in the oven. This step is non-negotiable; a cold pan will result in dense, unsatisfactory popovers. Once heated, lightly grease each cup with butter to prevent sticking and enhance the popover's golden hue.
Mixing the Batter
When mixing the batter, aim for a smooth, lump-free consistency. Overmixing can lead to tough popovers, so mix just until the ingredients are combined. The batter should be similar to a thin pancake batter, allowing it to pour easily into the preheated pan.
For more on achieving the perfect batter consistency, explore our tips on baking in cast iron pans.
Baking and Serving
Once your batter is ready, pour it into the hot pan, filling each cup about halfway. The key is to work quickly to retain the pan's heat. Place the pan back in the oven and resist the urge to open the door during baking. This could cause the popovers to collapse.
Bake until the popovers are golden brown and crisp, typically around 20-25 minutes. Serve immediately with a dab of butter or your favorite jam for a delightful treat.
Exploring Variations
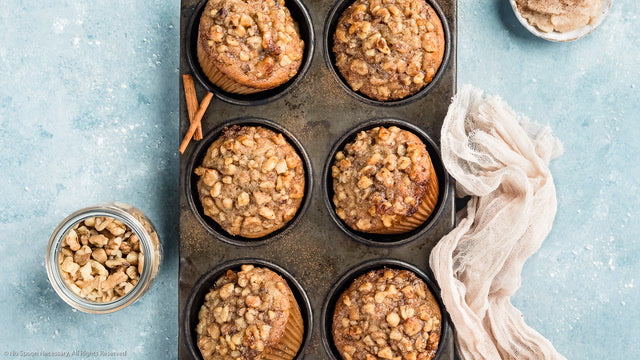
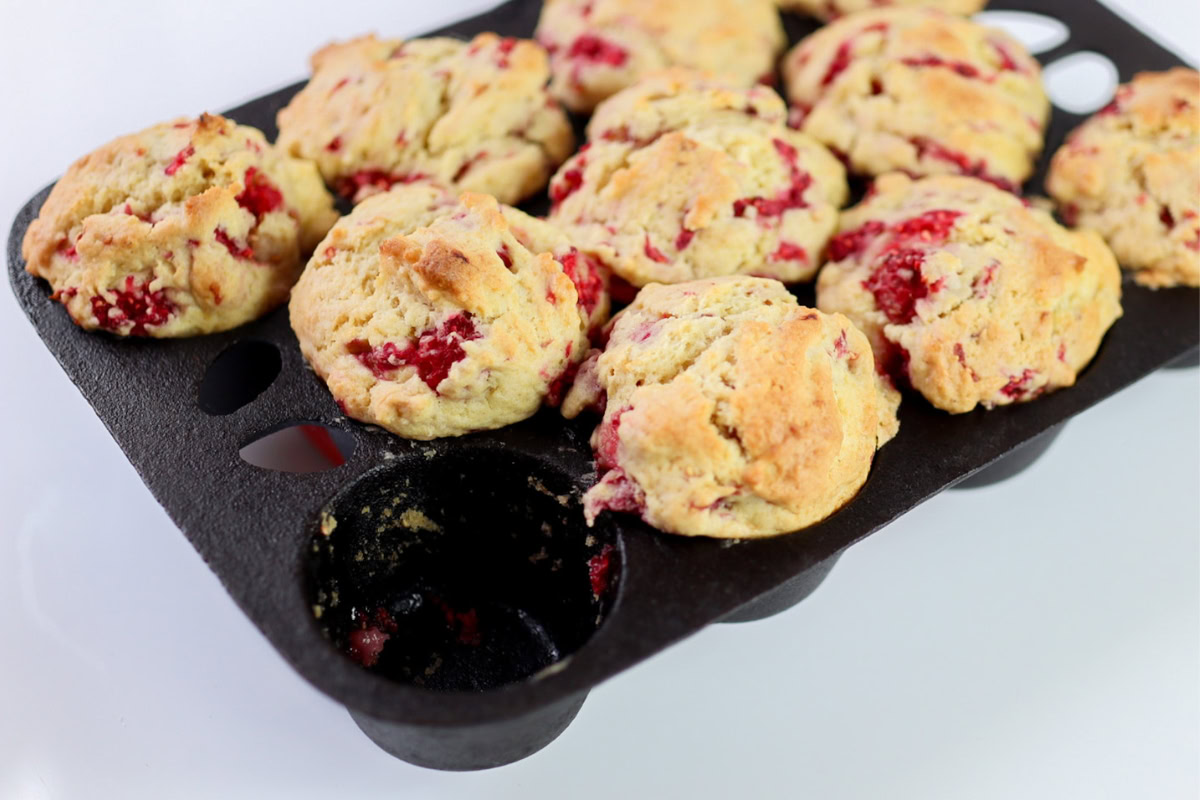
Popovers are incredibly versatile. Experiment with savory variations by adding cheese, herbs, or spices to the batter. For a sweet twist, try incorporating vanilla extract or a sprinkle of cinnamon sugar after baking. The possibilities are endless, and a cast iron muffin pan offers the perfect canvas for your culinary creativity.
For more savory ideas, visit savory muffin pan recipes.
Maintenance and Care of Your Cast Iron Muffin Pan
Proper care of your cast iron muffin pan will ensure it lasts for generations. After each use, clean the pan with warm water and a soft brush. Avoid soap, as it can strip the pan's seasoning. Dry thoroughly and apply a light coating of oil to prevent rust.
For more on maintaining cast iron cookware, see our guide on cast iron care.
FAQs
- Why are my popovers not rising? Ensure your pan is preheated and your batter is at room temperature for optimal steam production.
- Can I use different types of flour? Yes, but the texture may vary. Whole wheat flour will result in a denser popover.
- How do I store leftover popovers? Store in an airtight container at room temperature for up to two days. Reheat in the oven to regain crispness.
This article contains affiliate links. We may earn a commission at no extra cost to you.
Leave a comment
This site is protected by hCaptcha and the hCaptcha Privacy Policy and Terms of Service apply.