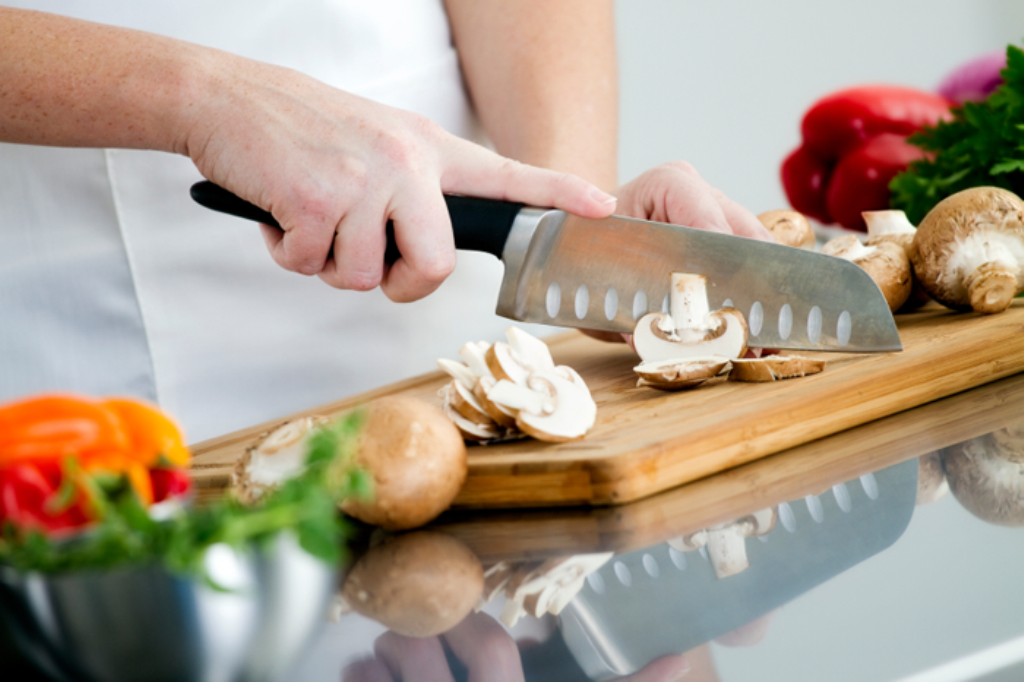
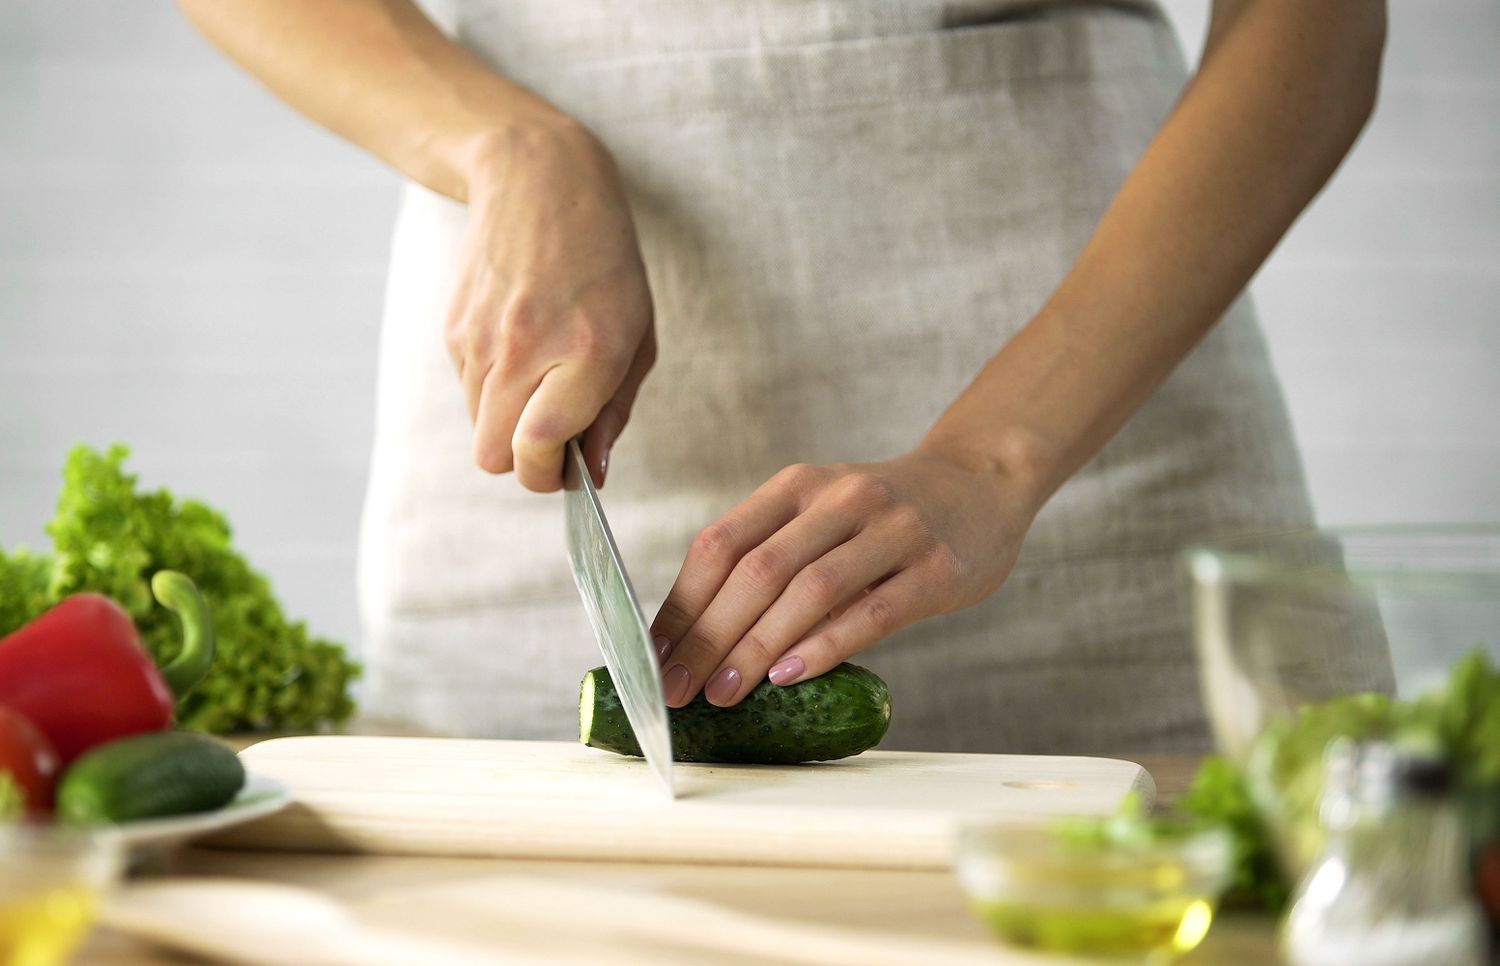
The kitchen professionals tool arsenal is never complete without a reliable wooden cutting board. It is not just a utilitarian surface but a backbone of regular food prep in bustling kitchens. However, the question begs: how to cure a wooden cutting board so that it continues to serve you well for years? In this guide, we break down the shocking secrets and expert-approved practices to keep your wooden board in remarkable shape.

Why Is Understanding How to Cure a Wooden Cutting Board So Important?
As a professional chef or kitchen enthusiast, you know that a poorly maintained cutting board can harbor bacteria, compromise food safety, and even ruin your ingredients integrity. Beyond that, curing your wooden cutting board extends its lifespan, protects against warping, and maintains its aesthetic. Without regular curing, even the best boards deteriorate under the unforgiving environment of a busy kitchen.
So, why wait? Let's dive into the big and life-changing ways to cure your wooden cutting board effectively.
Tremendous Tools Youll Need for the Curing Process
- Food-grade mineral oil (kitchen pros swear by it! Check out how to use mineral oil)
- Beeswax or cutting board conditioner
- Fine-grade sandpaper
- Clean microfiber cloth
- Warm soapy water
- Vinegar mixture for sanitizing (3:1 water-to-vinegar ratio)
Preparatory Steps Before You Start Curing
Before jumping straight into curing, your cutting board should be thoroughly cleaned. Refer to this helpful read on how to clean your cutting board. Scrub it gently with warm soapy water and a sponge. Avoid submerging the board in water to prevent warping.
For extra safety, sanitize it using the vinegar mixture described above or learn more about an expert-approved cleaning process here.
Step-by-Step Process: How to Cure a Wooden Cutting Board Like a Pro
1. Sand It Down for a Smooth Start
Sanding removes stains, knife grooves, and irregularities, preparing it for oil treatment. Use fine-grade sandpaper and work evenly across the surface. For professional kitchen vibes, review our tips here.
2. Apply Your First Coat of Food-Grade Mineral Oil
Place your cutting board on a clean surface and pour a small quantity of mineral oil. Use a microfiber cloth to rub the oil in gentle, circular motions, ensuring complete coverage. Mineral oil penetrates deeply, forming a protective layer against stains and moisture.
3. Let the Oil Soak In Overnight
Patience is key! Allow the oil to soak for at least 12-24 hours. This lets the wood absorb enough moisture to maintain elasticity and prevent cracking over time.
4. Buff Away Excess Oil
Using a dry cloth, gently buff the surface to remove excess oil. Its essential to achieve a non-greasy finish, leaving the board safe for food preparation.
5. Follow Up with Beeswax or a Cutting Board Conditioner
For added protection, apply a mixture of melted beeswax and mineral oil. This creates a shiny, water-resistant seal. Youll find this particularly useful if your wooden cutting board sees heavy use in a professional kitchen setting. When in doubt, check ideas on refinishing techniques.
Common Mistakes to Avoid While Curing Wooden Cutting Boards
- Using vegetable oil: This can turn rancid and ruin the board.
- Skipping regular cures: A kitchen professional should oil their boards at least once a month.
- Submerging the board in water: Wood expands and warps when submerged.
FAQs About How to Cure a Wooden Cutting Board
1. Can curing protect my cutting board from mold?
Absolutely. Curing your wooden cutting board with mineral oil prevents moisture absorption, reducing the risk of mold growth. You can learn more about cutting board hygiene here.
2. How often should I cure my wooden cutting board?
For high-use boards, professionals recommend curing every 3-4 weeks. This ensures optimal performance and safety in kitchen environments.
3. Can I use flavored oils for curing?
No. Oils like olive or coconut oil can turn rancid, affecting the boards integrity and your foods taste. Stick to non-flavored, food-safe mineral oil.

Conclusion
Learning how to cure a wooden cutting board is the first step to preserving its quality and efficiency. Not only is this process essential for food safety, but it also contributes to the sustainability of your professional kitchen. Whether youre applying a simple oil coat or entirely refinishing your board, proper care goes a long way in ensuring your cutting board stands the test of time.
For more expert tips and tools, visit Real Simples resource page.
This article contains affiliate links. We may earn a commission at no extra cost to you.


Leave a comment
This site is protected by hCaptcha and the hCaptcha Privacy Policy and Terms of Service apply.