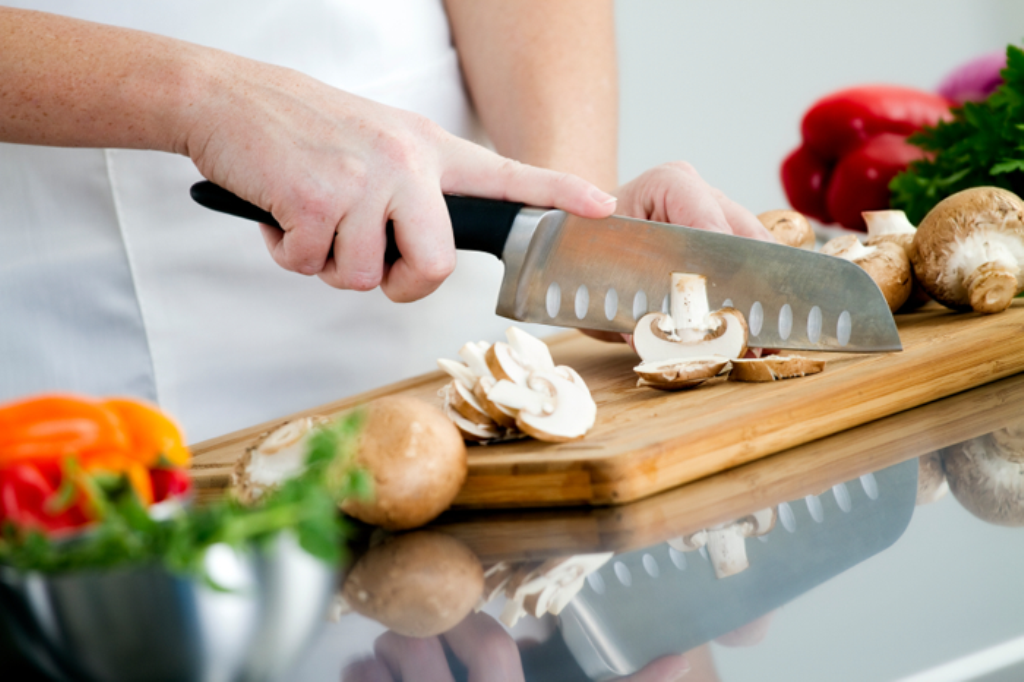
Installing a cutting board that pulls out directly from your kitchen cabinet is a transformative upgrade. Whether you are optimizing your kitchen space or trying to create a professional-grade cooking setup, a pull-out cutting board can elevate your efficiency and organization. For kitchen professionals, this is not only a convenient tool but also a design enhancement that clients rave about.
How to install a pull out cutting board in kitchen cabinet is one of those frequently asked questions that carry practical significance. By the end of this article, you will gain a step-by-step approach to the installation process along with some tips, tools, and insights to achieve a seamless finish.
Before diving into the steps, its essential to understand why a pull-out cutting board is worth the effort for kitchen professionals and enthusiastic homeowners alike.

Why Install a Pull-Out Cutting Board in Your Kitchen?
A pull-out cutting board creates a dedicated space for prepping food without cluttering your countertops. For kitchen professionals managing high-pressure environments, this improvement contributes to better workflow and hygiene. To understand why different cutting boards work best for varying tasks, check out what color cutting board for raw chicken.
Unlike traditional cutting boards, which often take up precious storage space or float around the kitchen without a designated place, a pull-out version is tethered to a cabinet. You pull it out when needed and push it back when done, instantly decluttering your cooking area.
Benefits for Kitchen Professionals
- Improved workflow: Reduces the time needed to set up a work area for chopping, slicing, and dicing.
- Space optimization: Makes it a breeze to work in crowded kitchens where countertop space is limited.
- Client satisfaction: This design improvement adds sophistication and utility, which often wows homeowners.
- Customizable: You can select the material (wood or plastic) for the cutting board based on your preferences. See how materials affect your cutting boards performance in wood vs. plastic cutting boards.
Materials and Tools Youll Need
Before starting the installation, gather the following materials and tools:
- Pull-out cutting board mechanism: These come as kits or standalone brackets. Ensure the size fits your cabinet.
- Cutting board material: Pre-cut wooden or plastic cutting boards work best.
- Screws: Use screws compatible with your cabinet material.
- Drill: For installing brackets and screws securely.
- Measuring tape: Precision is critical for professional results.
- Level: Ensures the cutting board installs straight and slides smoothly.
- Pencil: Helpful for marking measurements and bracket placement.
- Sandpaper: For smoothing out edges and ensuring no splintering on wood.
With your tools and materials ready, lets jump into the process.
Step-by-Step Guide for Installation
Step 1: Measure Your Cabinet Space
Start by opening your cabinet and measuring the height, width, and depth of the available space. These dimensions will determine the size of the pull-out mechanism and cutting board required.
Pro tip: Leave at least one inch of clearance on each side for the brackets and sliding mechanism.
Step 2: Choose the Right Cutting Board
While most pull-out cutting board kits come with a board, some professionals prefer customizing it to client specifications. For a deeper dive into cutting board materials and purpose, read what color cutting board for seafood, as it explores board options suited for specific food types.
If youre crafting the board yourself, make sure its slightly smaller than the cabinet opening but thick enough to withstand rigorous use.
Step 3: Install the Brackets
Using the brackets provided in your pull-out mechanism kit, install the brackets on either side of the cabinet. Be sure to:
- Mark the spots with a pencil to check alignment.
- Drill pilot holes for the screws. This minimizes the risk of splitting wood in cabinet construction.
Step 4: Attach the Cutting Board
Secure the cutting board to the pull-out slider mechanism. Double-check that the slider is sturdy and allows smooth movement. If the board has rough edges, sand them down to create a polished finish.
Step 5: Test the Pull-Out Board
Open and close the pull-out cutting board a few times to ensure its functioning smoothly. Check for any wobbling, misalignment, or squeaking in the mechanism.
Step 6: Secure and Finalize
If everything fits seamlessly, tighten all screws for added safety. This will prevent the mechanism from loosening over time, especially with daily use.
Tips for Long-Term Maintenance
To ensure durability and longevity, consider these tips:
- Regularly clean the slider tracks to avoid debris buildup.
- Sanitize your cutting board between uses. Check out how to sanitize your cutting board effectively.
- Apply a food-safe mineral oil to wooden boards to prevent cracking and maintain smoothness.
- Inspect the screws and brackets periodically to tighten any loose hardware.
Frequently Asked Questions
1. Can a pull-out cutting board be retrofitted into an existing cabinet?
Yes, retrofitting is possible as long as your cabinet has enough space to accommodate the sliding mechanism and cutting board dimensions.
2. What type of material is best for the cutting board?
Hardwoods like maple or bamboo are excellent choices for durability, while plastic cutting boards are more lightweight and easier to sanitize. Learn more about their differences in cutting board material concerns.
3. How often should I clean the pull-out board mechanism?
It is advisable to clean the slider tracks every two weeks or more frequently if debris buildup obstructs smooth operation.

Final Word
Installing a pull-out cutting board in a kitchen cabinet undoubtedly enhances the workspace for kitchen professionals. The process, while requiring precision, is easily achievable with the right tools and materials. By following these steps, you will not only make food prep more convenient but also offer your clients or household a stylish and highly practical kitchen feature.
This article contains affiliate links. We may earn a commission at no extra cost to you.


Leave a comment
This site is protected by hCaptcha and the hCaptcha Privacy Policy and Terms of Service apply.