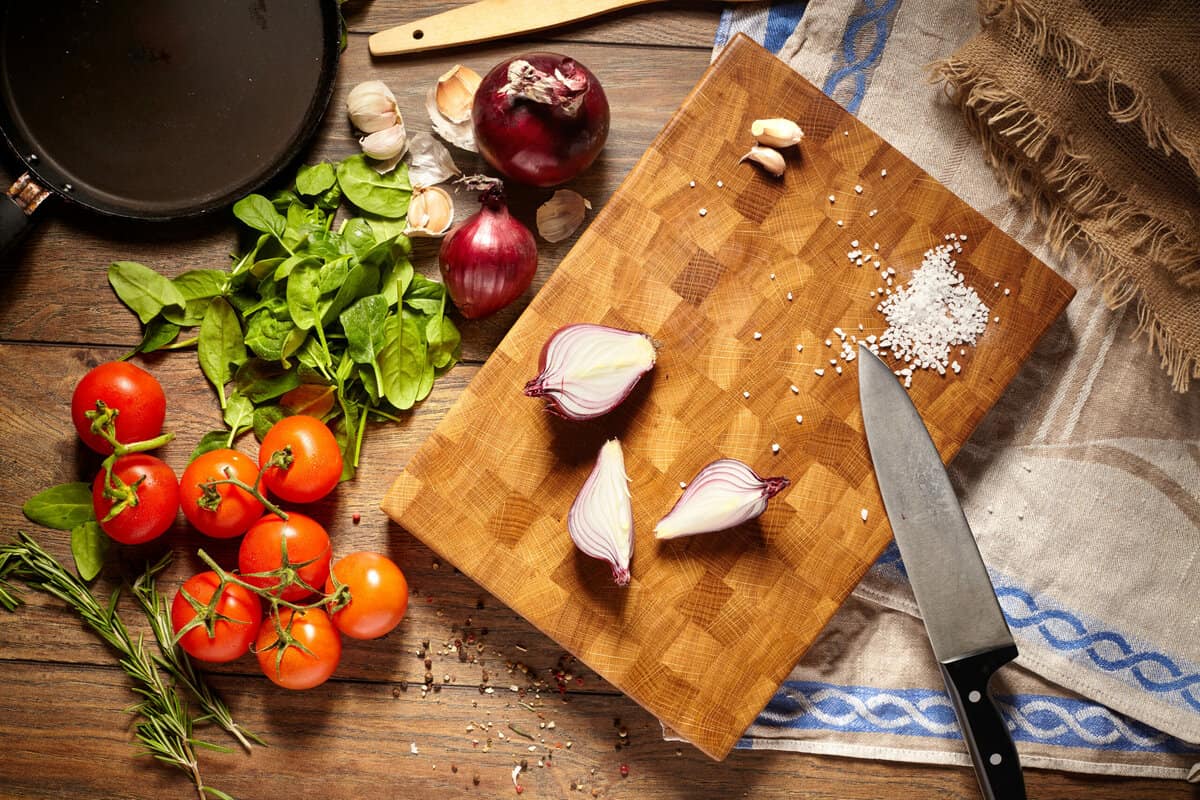
For kitchen professionals, crafting a custom cutting board from scratch can be both a rewarding and practical project. If youve ever wondered how to make a cutting board from a log, this guide is tailored just for you. Using a log to make a cutting board provides not only a rustic and aesthetic appeal but also a durable, eco-friendly tool for your kitchen. This step-by-step tutorial will walk you through the entire process, while offering valuable tips for safety and efficiency.
But first, why go through the process of creating your own cutting board? Its simple: control over quality, size, and design. Plus, the satisfaction of making something tailored to your exact kitchen needs is unmatched. Lets dive into the details!

Step-by-Step Guide to Making a Cutting Board
1. Select the Right Log for Your Cutting Board
The foundation of your cutting board is the log you choose. But not every type of wood is suitable for a cutting board. Hardwoods like maple, walnut, oak, and cherry are highly recommended because of their dense composition and low porosity. These properties reduce bacteria intrusion, keeping the board safe for food preparation.
Ensure the wood you use is untreated and free from chemicals. Using local timber suppliers or trusted sources can help ensure your logs are both high-quality and food-grade safe. Read more about choosing the right type of wood here.
2. Prepping the Log: Cutting and Debarking
Begin by cutting your log into manageable slices. A bandsaw is preferred for precision, but a handsaw can also suffice if handled carefully. Aim for a thickness of at least 1.5 inches to ensure durability. Youll also want to debark the log to create a smooth and polished surface for the cutting board.
A draw knife or chisel can make debarking easier. After debarking, use a moisture meter to check the moisture content of the woodit should ideally be around 6-8% to prevent cracks or warping over time. To learn more about the perfect thickness for cutting boards, check out this detailed resource.
3. Sanding: Achieve a Smooth Surface
Once the log is prepped, its time to sand. Start with coarse-grit sandpaper (80 grit) to remove rough patches and gradually move to finer grits (up to 220 grit) for a smooth finish. Remember, the goal is to have a surface that not only looks appealing but is also kind to your knives. Avoid over-sanding edges, as this can make the board prone to splinters or cracks.
4. Shaping Your Cutting Board
Depending on your preferences, you can shape your cutting board into rectangles, circles, or custom designs. Templates found online can help guide you during the shaping process. After cutting the shape, be sure to sand the edges to smooth them out and avoid any sharp corners.
5. Sealing and Conditioning the Wood
The next step is sealing the wood to protect it from moisture and prevent bacterial growth. Use food-safe oils, such as mineral oil or beeswax. Apply the oil generously, let it soak in for a few hours, and wipe off any excess with a clean cloth. Repeat this process until the wood no longer absorbs oil. Need advice on maintaining a wooden cutting board? Learn from experts in this guide.
6. Final Touches and Inspection
Inspect your cutting board for any irregularities. A professional finish will elevate its aesthetic value. Some woodworkers prefer adding non-slip feet or rubber grips to the boards bottom for added stability.
Caring for Your Homemade Cutting Board
To ensure the longevity of your cutting board, follow these maintenance tips:
- Hand-wash in warm, soapy water. Avoid submerging it in water to prevent warping.
- After washing, dry the cutting board completely before storing.
- Periodically reapply food-safe oil to keep the wood hydrated.
- Sanitize the board with a mild vinegar solution if it comes into contact with raw meat. Check out best practices for sanitizing.
:max_bytes(150000):strip_icc()/prevent-cutting-board-slipping-1123-c9837c7f958745b792c2b115c7d7bccd.jpg)
FAQs
1. Why use a log instead of pre-cut wood?
Using a log offers customization, cost-effectiveness, and the ability to handpick the best quality wood. Its especially appealing to kitchen professionals who value bespoke tools.
2. How much time does it take to make a cutting board from a log?
On average, the process takes 3-5 hours, depending on the tools and skill level. Drying the log can add a few weeks if not already seasoned.
3. What is the best size for a cutting board?
It depends on your intended use, but standard boards range from 12x18 inches to 18x24 inches. Larger boards are practical for professional kitchens.
4. Can end-grain blocks be created using this method?
Yes, but they require additional steps, like gluing and clamping the pieces together to form the desired size and pattern.
Creating a cutting board from a log is a manageable yet enriching project for kitchen professionals. By following the steps outlined above and taking care of your custom board, youll have a durable and unique piece that will last for years. Looking for a quick guide on cutting board design? Dont miss this color-coded guide!
This article contains affiliate links. We may earn a commission at no extra cost to you.


Leave a comment
This site is protected by hCaptcha and the hCaptcha Privacy Policy and Terms of Service apply.