


For kitchen professionals, a reliable, well-built cutting board is an essential tool. Whether you're slicing vegetables, carving meat, or using it as a workstation, having a large cutting board isnt just convenient it's a necessity. But commercial boards often lack the charm, custom dimensions, or durability many professionals desire. Thats why learning how to make a large cutting board is a game-changer.
If you're ready to craft your perfect cutting board, keep reading as we break down everything you need for this rewarding woodworking project. Even if you're new to woodworking, you'll find helpful tips that make the process simple and approachable.

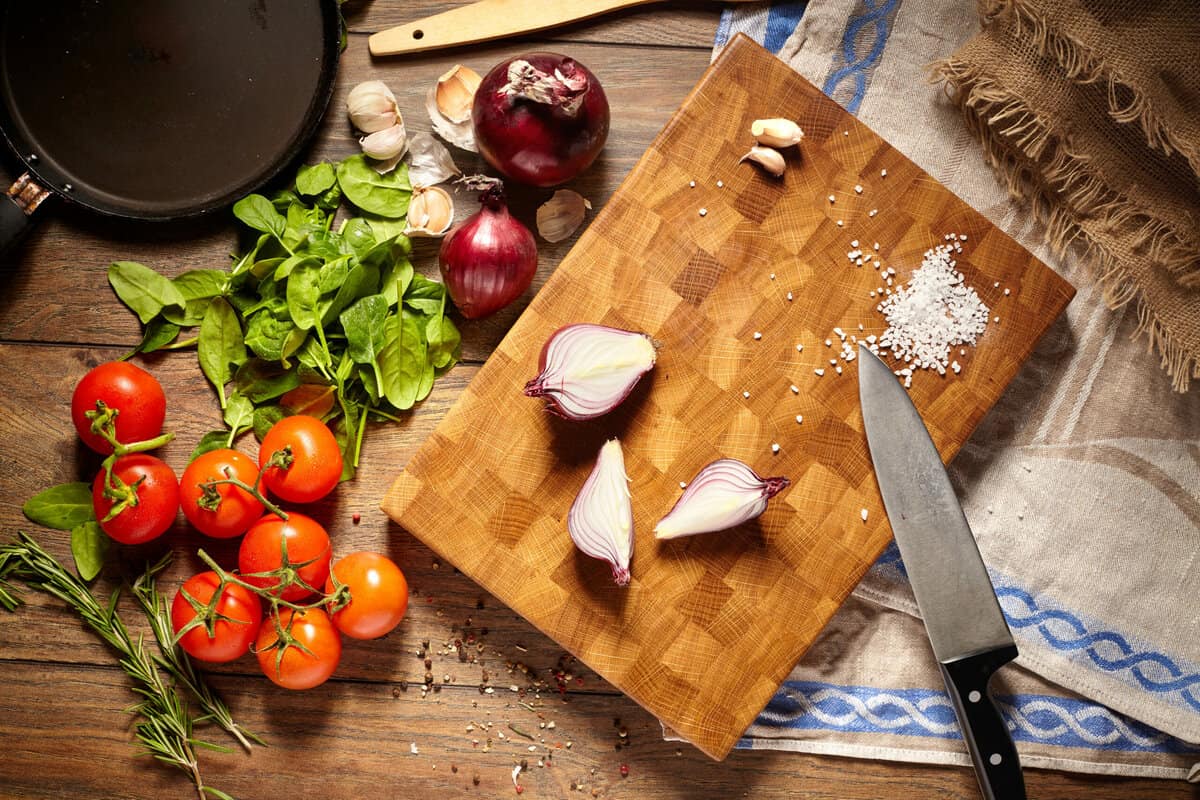
Why You Need a Custom Cutting Board
As a kitchen professional, your cutting board is integral to food preparation. A board that's too small can disrupt your workflow, while a poorly constructed one can harbor bacteria or warp over time. Heres where creating a custom board adds value:
- Durability: By building your large cutting board, you choose the materials, ensuring its longevity.
- Customization: Tailor the size, wood type, and design to match your specific needs.
- Cost Efficiency: A small investment in materials can save you money compared to store-bought, high-end boards.
Before diving into the tutorial, be sure to check out the importance of cutting board sizes to ensure your creation matches your kitchen requirements.
Step-by-Step Guide: Building Your Large Cutting Board
Step 1: Gather Materials and Tools
To build a robust and functional large cutting board, youll need the following:
Wood Selection
- Hardwoods: Maple, walnut, or cherry are excellent choices for durability and ease of maintenance.
- Avoid softwoods: Pine or cedar can warp and develop grooves over time, making them less suitable.
Not sure which type of wood to pick? Visit this helpful guide from Craftsy for an overview of cutting board materials.
Essential Tools
- Circular or table saw
- Clamps
- Wood glue (food-safe)
- Orbital sander or sandpaper (80, 120, and 220-grit)
- Mineral oil or cutting board finish
Youll also need a large, flat workspace with room to assemble and glue your board.
Step 2: Prepare the Wood
Cut your selected hardwood into uniform strips. The width and thickness depend on the desired size of your cutting board. For a professional-grade board:
- Lengths: Between 18-24 inches for enough surface area.
- Widths: Each strip should be roughly 1-2 inches wide to ensure even glue coverage.
Sand each strip to remove rough edges and splinters. Smooth wood ensures the glue adheres evenly and creates a seamless finish.
Step 3: Assembly and Glue
Lay out the strips side by side, alternating grain directions if desired for aesthetic appeal. Apply food-safe wood glue thinly but thoroughly between each strip. Use clamps to press the pieces tightly together while the glue sets.
Tip: Allow the board to cure for at least 24 hours for maximum strength.
Step 4: Shaping and Sanding
After the glue dries, remove the clamps and trim any uneven edges with a circular saw. Then, sand the entire board using progressively finer grit sandpaper until the surface is smooth and finished.
If you're interested in learning about finishing techniques, consider reading how to seal a cutting board properly.
Step 5: Add Finishing Touches
Coat your cutting board with food-safe mineral oil to protect and hydrate the wood. Repeat this process several times, letting the oil soak in each time.
For extra protection, you might also consider adding beeswax over the oil finish. This layer will help repel water and stains.
Maintenance Tips for Your Large Cutting Board
Now that your cutting board is complete, maintaining it properly will ensure its longevity:
- Clean immediately after use with warm, soapy water.
- Never submerge your cutting board in water; this can cause warping.
- Use hydrogen peroxide for deep cleaning. For detailed instructions, check out this guide.
- Reapply mineral oil every few months to keep the wood hydrated.
FAQs
What is the best wood for a large cutting board?
Hardwoods like maple, walnut, and cherry are the best for their durability and antibacterial properties.
How thick should a cutting board be?
Professional cutting boards are generally 1.5 to 2 inches thick for stability.
Can I use my cutting board right after applying oil?
No, let the oil soak in and dry completely before use to ensure safety and an even finish.
For further insights into cleaning and maintenance, visit this Bon Apptit guide.

Conclusion
Building your own large cutting board isnt just a practical endeavor; its a deeply rewarding project that allows you to bring a personal and functional tool into your kitchen. By following the steps above and incorporating quality materials and finish work, youll end up with a reliable cutting board tailored perfectly to your professional needs.
So, gather your tools, carve out some time, and begin crafting a cutting board that will stand the test of time and elevate your cooking experience.
This article contains affiliate links. We may earn a commission at no extra cost to you.


Leave a comment
This site is protected by hCaptcha and the hCaptcha Privacy Policy and Terms of Service apply.