
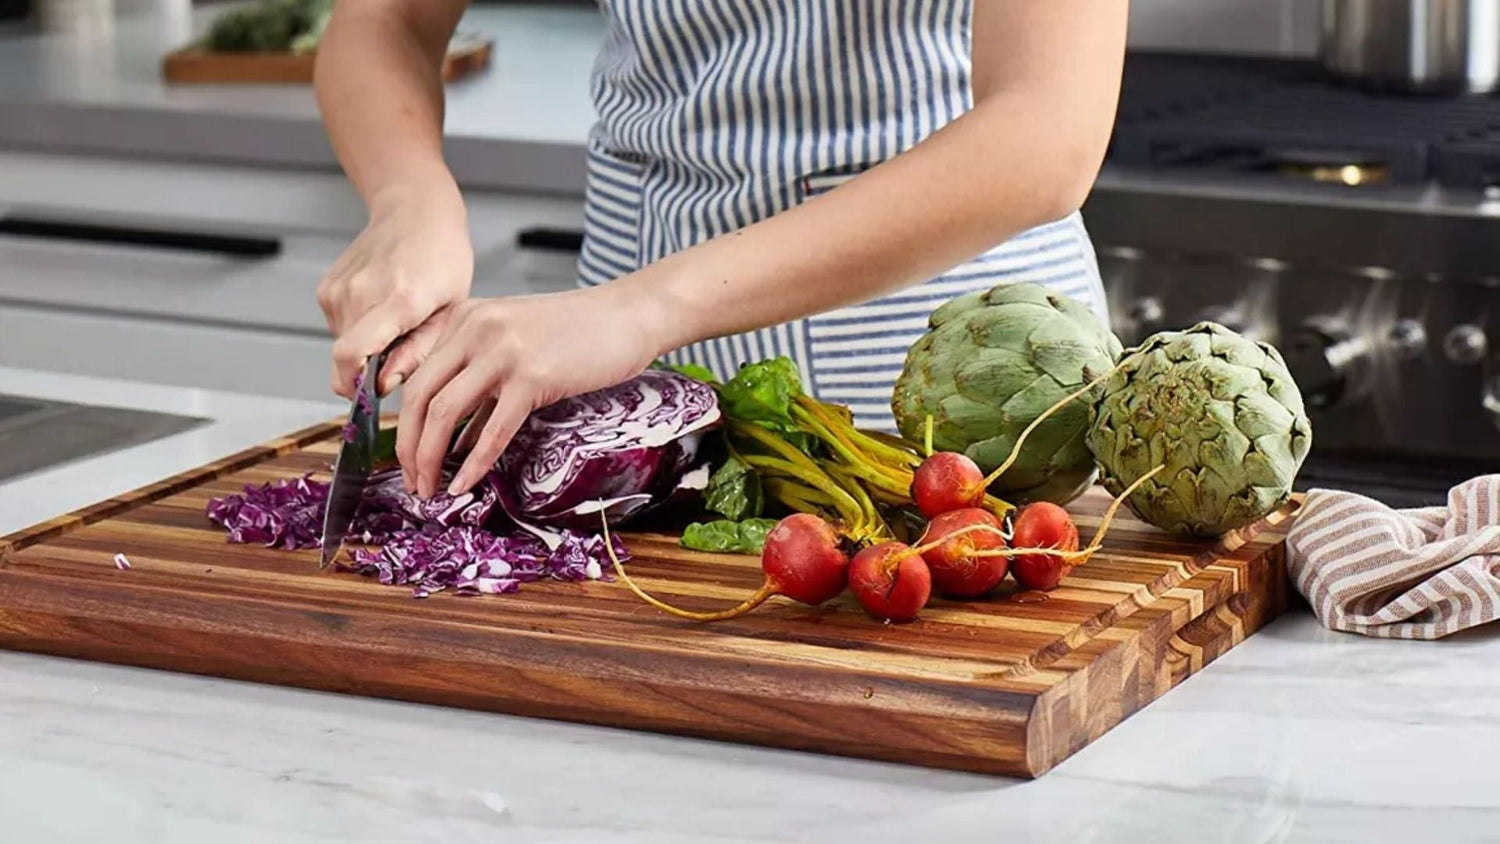


Whether you're a professional chef or an artisan looking to personalize your wooden cutting boards with engravings, learning how to seal a cutting board after engraving is crucial. Engravings not only enhance the aesthetic value of a cutting board, but they also demand extra care to maintain their durability, food safety, and appearance. In this comprehensive guide, we delve into step-by-step instructions, products, and professional advice to help you master the art of sealing engraved cutting boards.
Engraved cutting boards are works of art, but untreated wood is porous, leaving it susceptible to bacteria, moisture, and eventually cracking or warping. Sealing the board provides a protective barrier, ensuring longevity and functionality. Keep reading to explore in-depth techniques and tools needed to preserve your art and your cutting surface.
Why Is Sealing Necessary for Engraved Cutting Boards?
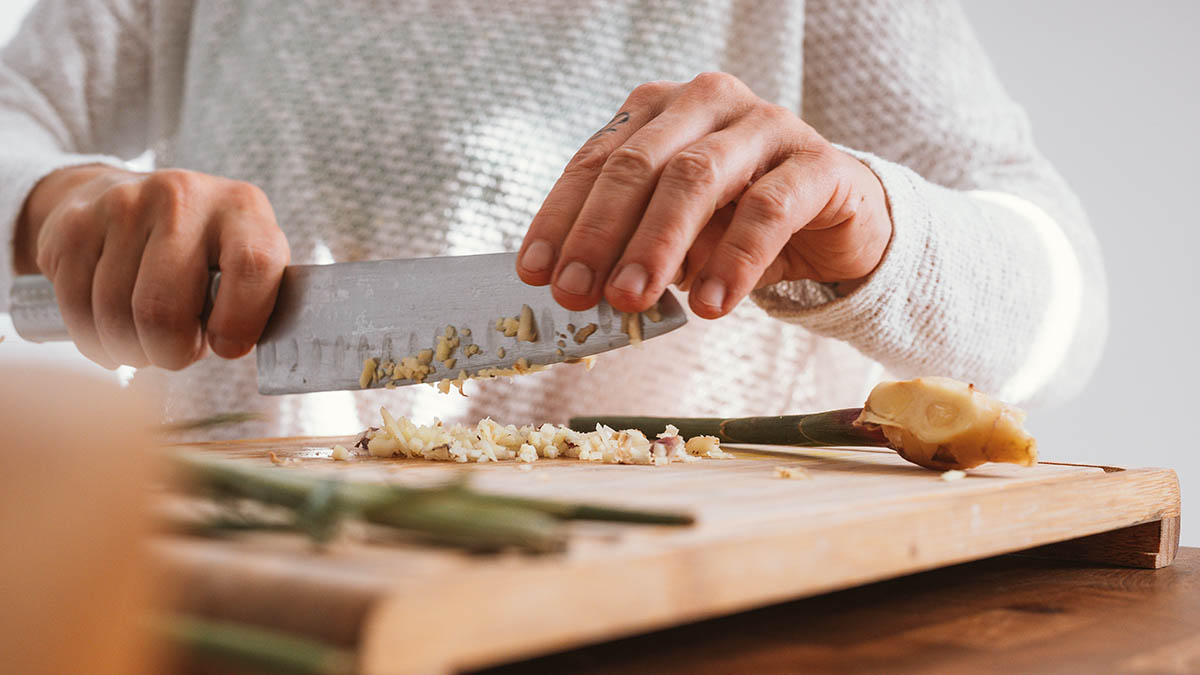
Engravings introduce grooves and textures on the surface of your board that require special care. Without proper sealing, these indentations can trap food particles and moisture, leading to faster wear and tear. Additionally, sealing improves the board's resistance to knife marks, stains, and odors. Most importantly, a sealed board is easier to clean and meets the hygiene standards required in professional kitchens.
If you're curious about composite cutting boards, check out this simple guide explaining whether they might serve as an alternative to wooden boardsbut remember, engravings shine best on wood!
Materials and Tools Needed for Sealing
Successfully sealing a cutting board requires specific tools and materials. Heres a short list:
- Food-safe mineral oil: The go-to solution for sealing cutting boards.
- Beeswax or wood balm: Adds a glossy finish and extra protection.
- Sandpaper: For repairing scratches and prepping the surface.
- Clean rags: For spreading oil evenly and buffing wax.
- Optional: A soft-bristled brush for intricate engraved areas.
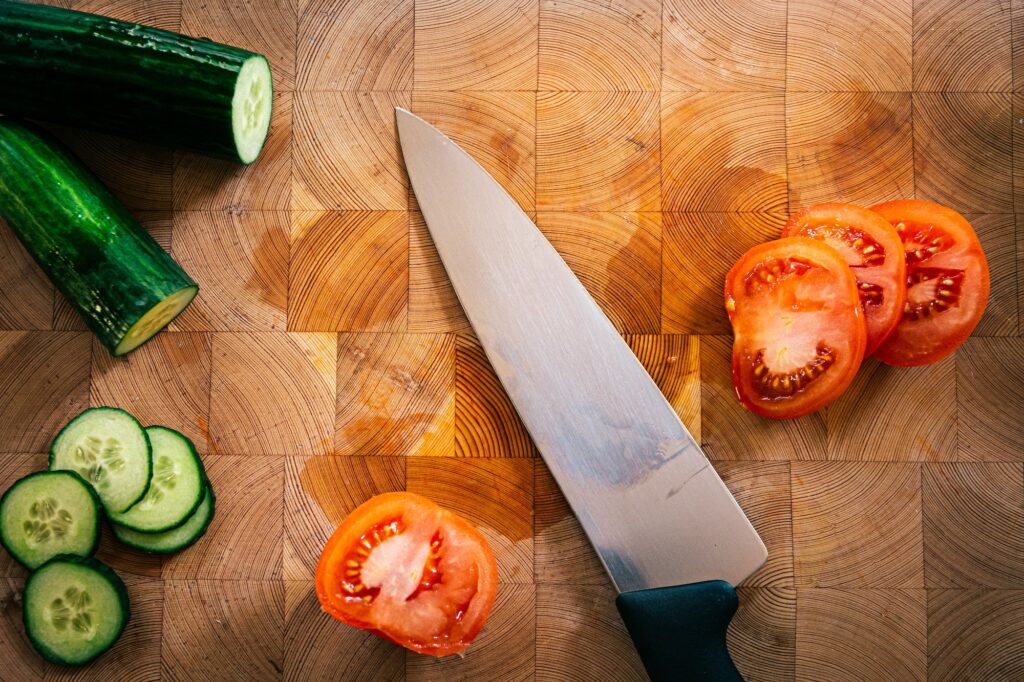
Not sure what type of wood cutting board to use? Read more about the best cutting board sizes and types to help you make an informed decision tailored to your needs.
Step-by-Step Guide to Sealing Your Cutting Board
Step 1: Clean and Dry the Board
Before applying any finish, thoroughly clean your cutting board to eliminate debris, grease, and stains. Use mild soap, warm water, and a soft scrubbing pad. If you're dealing with tough stains or odors, consider using hydrogen peroxidelearn how to do it effectively by visiting this informative article.
Once cleaned, allow the board to air-dry completely before proceeding. Moisture trapped under the oil or wax can damage the wood over time.
Step 2: Sand the Surface
If your cutting board is freshly engraved, the process might leave rough edges or fine splinters. Use fine-grit sandpaper (around 220 grit) to lightly sand the entire surface. For engraved areas, take extra care and use a soft-bristle brush if needed.
Feel free to revisit the sanding process if youre planning to make a cutting board with intricate designs; check out this practical guide.
Step 3: Apply a Food-Safe Mineral Oil
Mineral oil is non-toxic, easy to apply, and enhances the wood's natural beauty. To ensure even penetration:
- Pour a generous amount of oil directly on the board.
- Spread it evenly with a clean cloth, paying special attention to the engraved areas.
- Allow the oil to soak in for 12-24 hours, depending on the wood's dryness.
Reapply as needed until the wood no longer absorbs the oil.
Step 4: Seal with Beeswax or Wood Balm
To add an extra layer of protection and a glossy finish, apply a wood balm or beeswax:
- Rub a small amount onto the surface using a cloth or your fingertips.
- Buff with a dry, soft cloth to achieve a smooth finish.
- Let the board sit for several hours before using it.
For other storage and maintenance tips, refer to this state-certified guide on how to clean wooden cutting boards.
How Often Should You Reseal?
Sealing isnt a one-time task. Its essential to regularly reseal your cutting board to maximize durability and performance. A good rule of thumb is to apply mineral oil once a month or whenever the board looks dry and dull. Professionals working in high-traffic kitchens may need to reseal more frequently.
FAQs
Do I need to sand the board every time I reseal it?
No, sanding is only necessary if the board has visible scratches or uneven surfaces. For regular maintenance, cleaning and applying mineral oil will do the job.
Can I use coconut oil instead of mineral oil?
Its not recommended, as edible oils like coconut oil can go rancid over time. Stick to food-grade mineral oil for best results.
Whats the best way to handle engravings?
Use a soft brush to remove debris from engravings. Apply oil directly into the grooves to ensure proper sealing.
Final Thoughts
Knowing how to seal a cutting board after engraving is more than just a task; it's a professional skill that enhances the board's aesthetics, functionality, and safety. With the right materials, regular maintenance, and trusted advice, your engraved cutting boards will continue to shine in your kitchen setup.
This article contains affiliate links. We may earn a commission at no extra cost to you.
Leave a comment
This site is protected by hCaptcha and the hCaptcha Privacy Policy and Terms of Service apply.