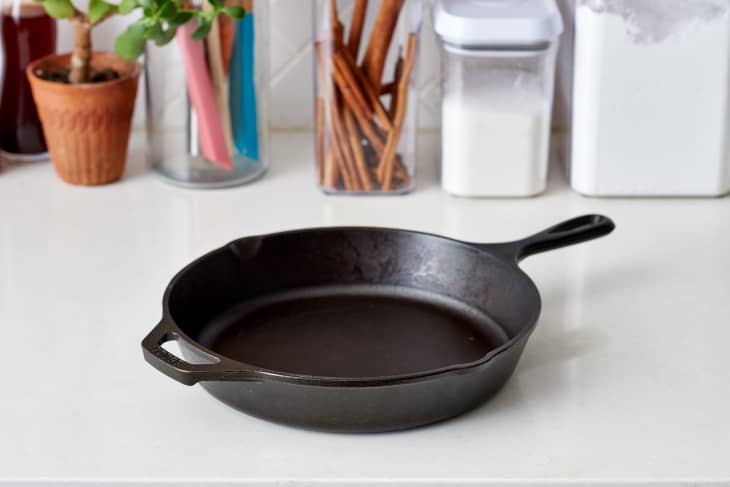
In the world of cooking, cast iron skillets hold a prestigious spot in every kitchen professional's arsenal. However, with regular use and time, these skillets require a bit of TLC, especially when it comes to reseasoning or recoating. Knowing how to recoat a cast iron skillet is crucial for preserving its non-stick surface and ensuring your meals turn out perfectly each time.
For both novice and seasoned chefs, understanding the intricacies of cast iron maintenance is essential. Not only does it enhance the flavor of your dishes, but a well-maintained skillet can last a lifetime and improve your cooking experience.
:max_bytes(150000):strip_icc()/ses-product-group-shot-rkilgore-87f90f93b4b34ec5afb38d5d75c6094b.jpeg)
Understanding the Basics of Cast Iron Skillets
Cast iron cookware has been around for centuries, renowned for its heat retention and distribution. Before jumping into the recoating process, it's essential to grasp the underlying principles of cast iron care.
Why Recoat?
Over time, cooking in your skillet can lead to a buildup of residue, rust spots, or even flaking. Recoating revitalizes your skillet's surface, making it safe and effective for cooking.
Signs You Need to Recoat
- Rust spots are evident.
- Your food sticks more than usual.
- The skillet's surface appears dull or uneven.
Steps on How to Recoat a Cast Iron Skillet
Now that we understand the importance of recoating, let's delve into the detailed steps on how to recoat a cast iron skillet.
Step 1: Clean Your Skillet
Before applying any new oil or coating, clean the skillet thoroughly. You can refer to this guide on how to clean cast iron for an effective cleaning process. Use hot water and a stiff brush to scrub off food particles and any old layers of seasoning.
Step 2: Dry Completely
After cleaning, its crucial to dry the skillet thoroughly. Any leftover moisture can cause rusting. Place the skillet on low heat for a few minutes, ensuring it dries completely.
Step 3: Apply Oil
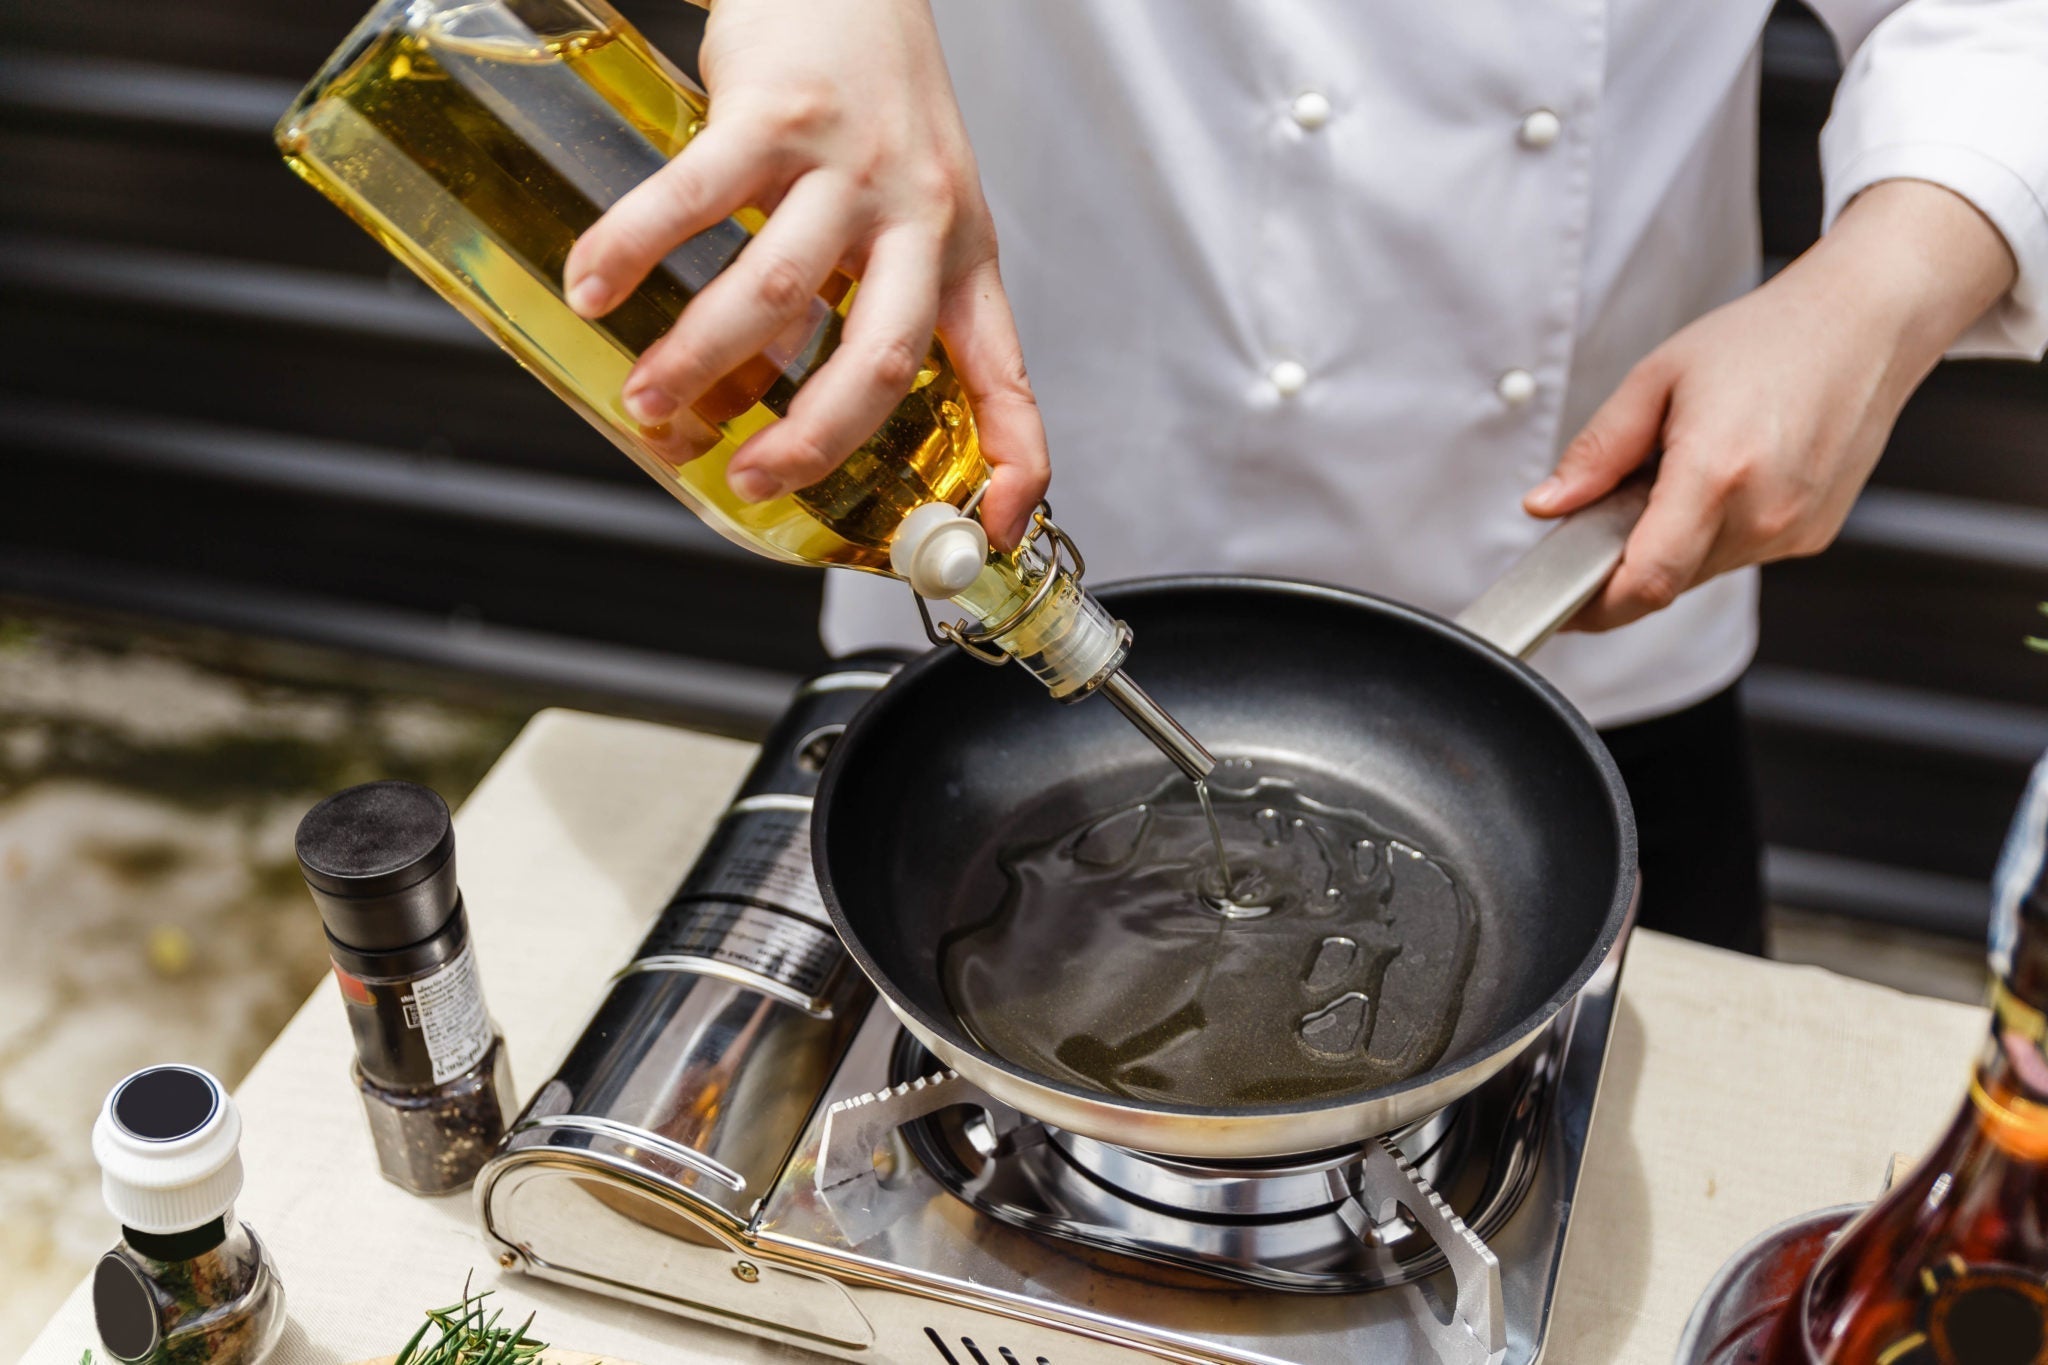
Choose a suitable oil with a high smoke point like flaxseed oil, grape seed oil, or canola oil. Pour a small amount onto a paper towel and rub it all over the skillet, both inside and out. Ensure an even coating.
Step 4: Bake the Skillet
Preheat your oven to 425F (220C). Place the skillet upside down on the middle rack, and put a sheet of aluminum foil on the lower rack to catch any drips. Bake for about an hour.
Step 5: Cool and Repeat
Allow the skillet to cool inside the oven. You may need to repeat the oil application and baking process two to three times for optimal seasoning.
Best Practices for Maintaining Your Cast Iron Skillet
Regular Maintenance
- Avoid soaking your skillet in water for extended periods.
- Always dry it completely after cleaning.
- Use mild soap only when necessary, as frequent soaping can wear down the seasoning.
Storage Tips
Store your cast iron skillet in a dry place, preferably with a layer of paper towel between it and any other cookware. This helps to absorb moisture and protect the seasoning.
Common Myths About Cast Iron Skillets
Myth 1: You Cannot Use Soap
While excessive soap can remove seasoning, occasional light washing with soap is acceptable.
Myth 2: All Oils Are the Same
Not all oils are suitable for cast iron. Oils with low smoke points can leave a sticky residue.

Frequently Asked Questions
1. How often should I recoat my cast iron skillet?
It depends on usage. If you notice food starting to stick or the skillet looks dull, its time to recoat.
2. Can I use my cast iron skillet for acidic foods?
While it's okay for occasional use, frequent cooking of acidic foods can damage the seasoning, leading to necessary recoating.
3. What should I do if my skillet rusts?
Light rust can usually be cleaned off with scrubbing. For deeper rust, seasoning may be needed after cleaning.
To learn more about a more extensive cleaning process, you can also check out this article.
As an Amazon Associate, I earn from qualifying purchases.


Leave a comment
This site is protected by hCaptcha and the hCaptcha Privacy Policy and Terms of Service apply.